The ultimate paperback publishing checklist
Final paperback checklist before publishing on any platform.


Words by
Fatima Hassan
Last updated:
You finished your manuscript. You celebrate. Upload it to Amazon KDP. A few minutes later, rejected.
Not because of your story.
Because your margins were wrong.
Your fonts weren't embedded.
Your images moved.
Welcome to the part of self-publishing nobody warns you about. This checklist walks through every one of them. Work through it before your first upload, and then use it again for every book after that.
Every "Tiny" Mistake Costs Hours
Instead of publishing, you become a detective.
Why did the headings disappear?
Why is the image floating?
Why did my page count change?
One fix creates another problem. And before you know it you've spent an entire afternoon formatting instead of publishing.
Is your manuscript actually finished?
The biggest formatting mistake happens before formatting even begins.
Many authors start polishing the layout, then remember one last chapter, one small edit, or a missing page. Suddenly, page breaks shift, headings move, and hours of work disappear. Finish writing first. Format second.
Confirm the following before you move on:
All chapters are in the correct order
Front matter is included: title page, copyright page, dedication
Back matter is included: about the author, other books, acknowledgments
No placeholder text or notes remain in the file
Proofreading is complete
Once you start formatting, treat the manuscript as closed.
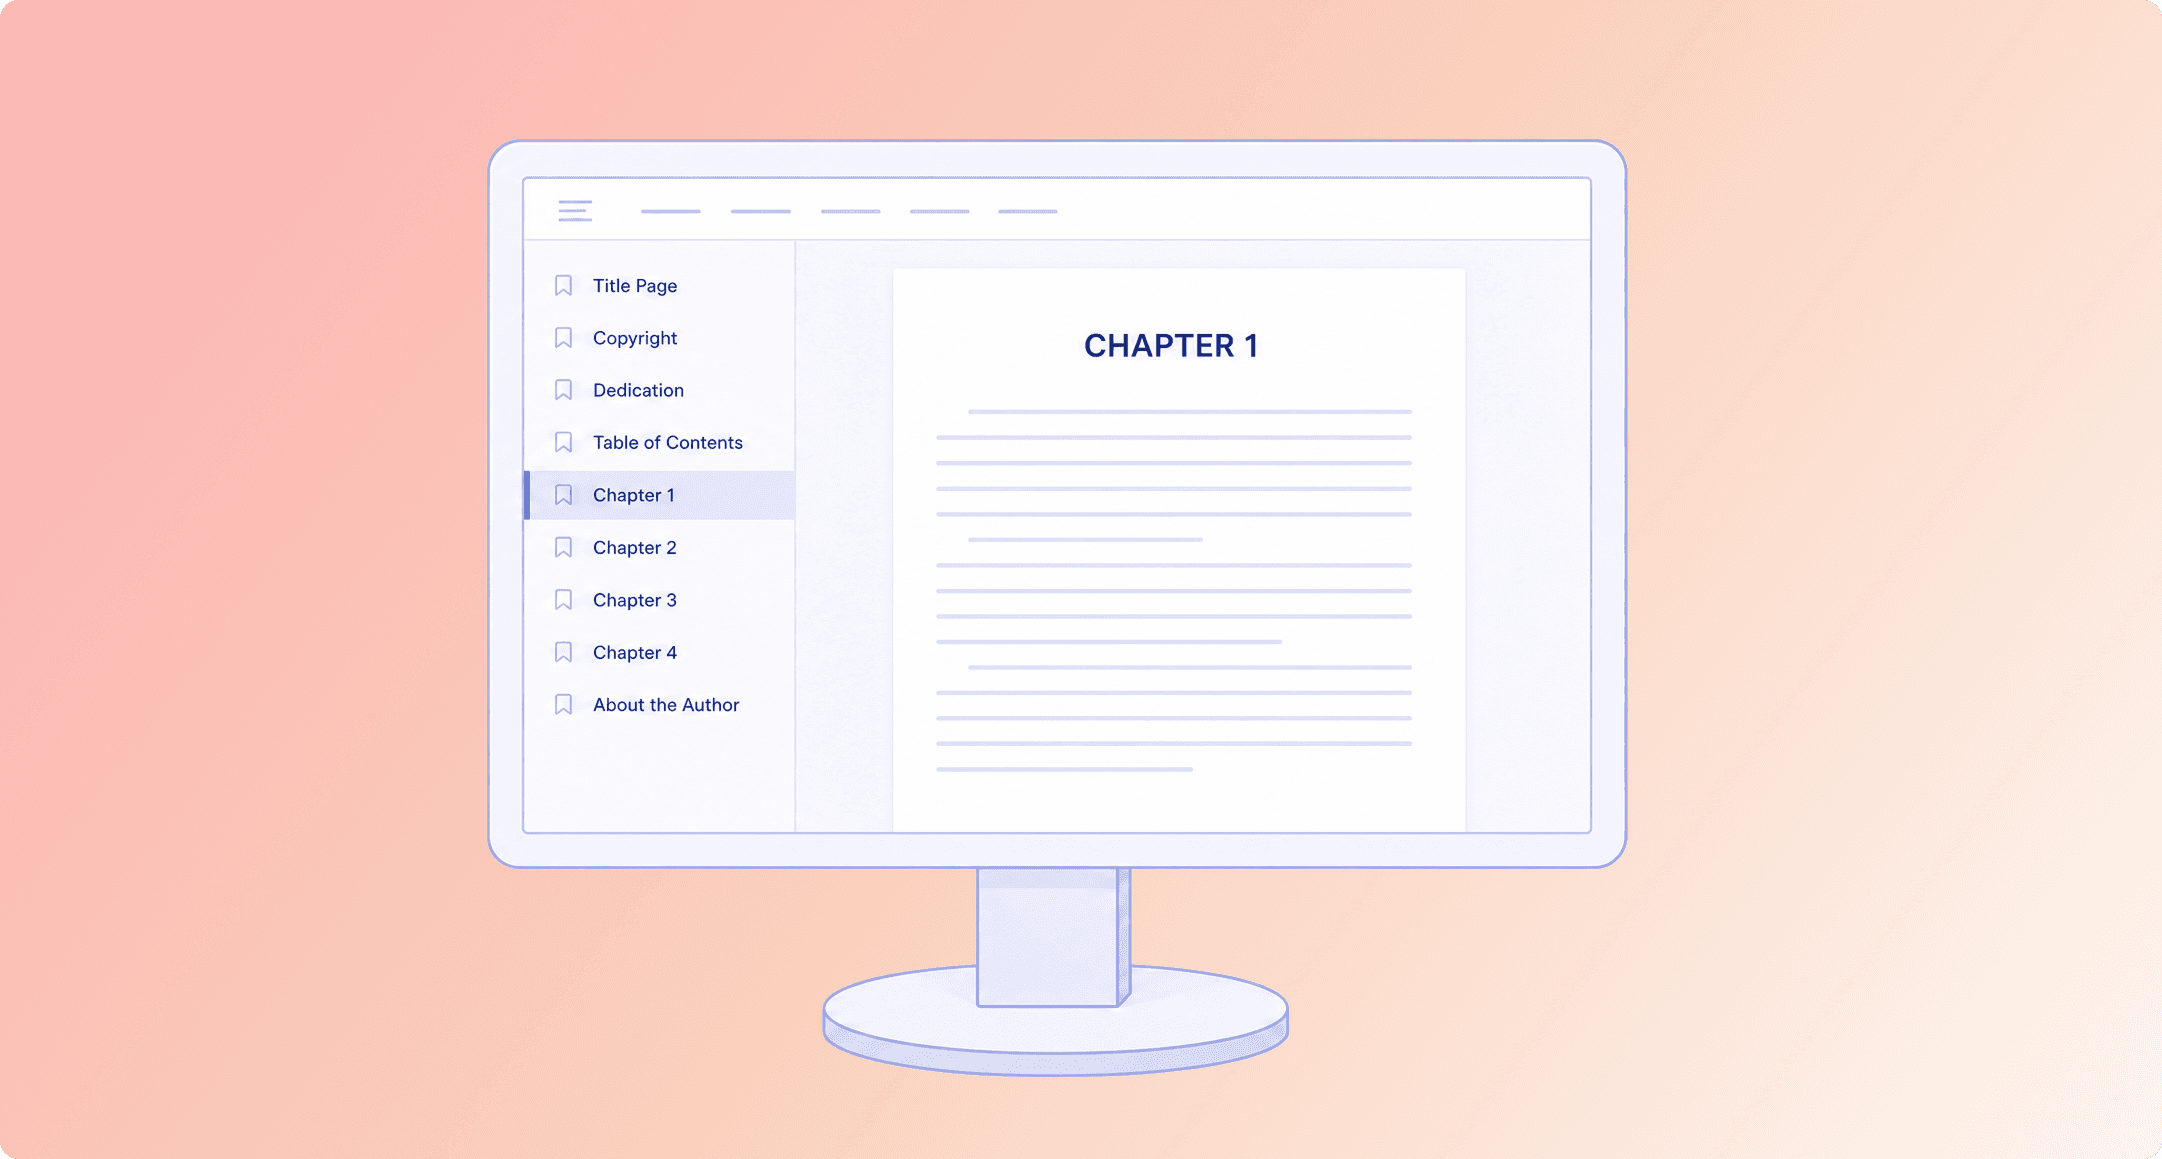
Trim size
Trim size is your book's final printed size and every layout setting depends on it.
Choose it before you start formatting to avoid redoing your entire layout.
Most fiction uses 5" × 8" or 5.5" × 8.5", while nonfiction typically uses 6" × 9".
Set your document to the correct trim size from the start for a professional result.
Genre | Trim Size |
|---|---|
Fiction (novels) | 5” x 8” or 5.5” x 8.5” |
Nonfiction | 6” x 9” |
Memoir | 5.5” x 8.5” |
Workbooks and journals | 8.5” x 11” |
Children’s books | 8” x 10” |
Poetry | 5.5” x 8.5” |
Margins and gutter
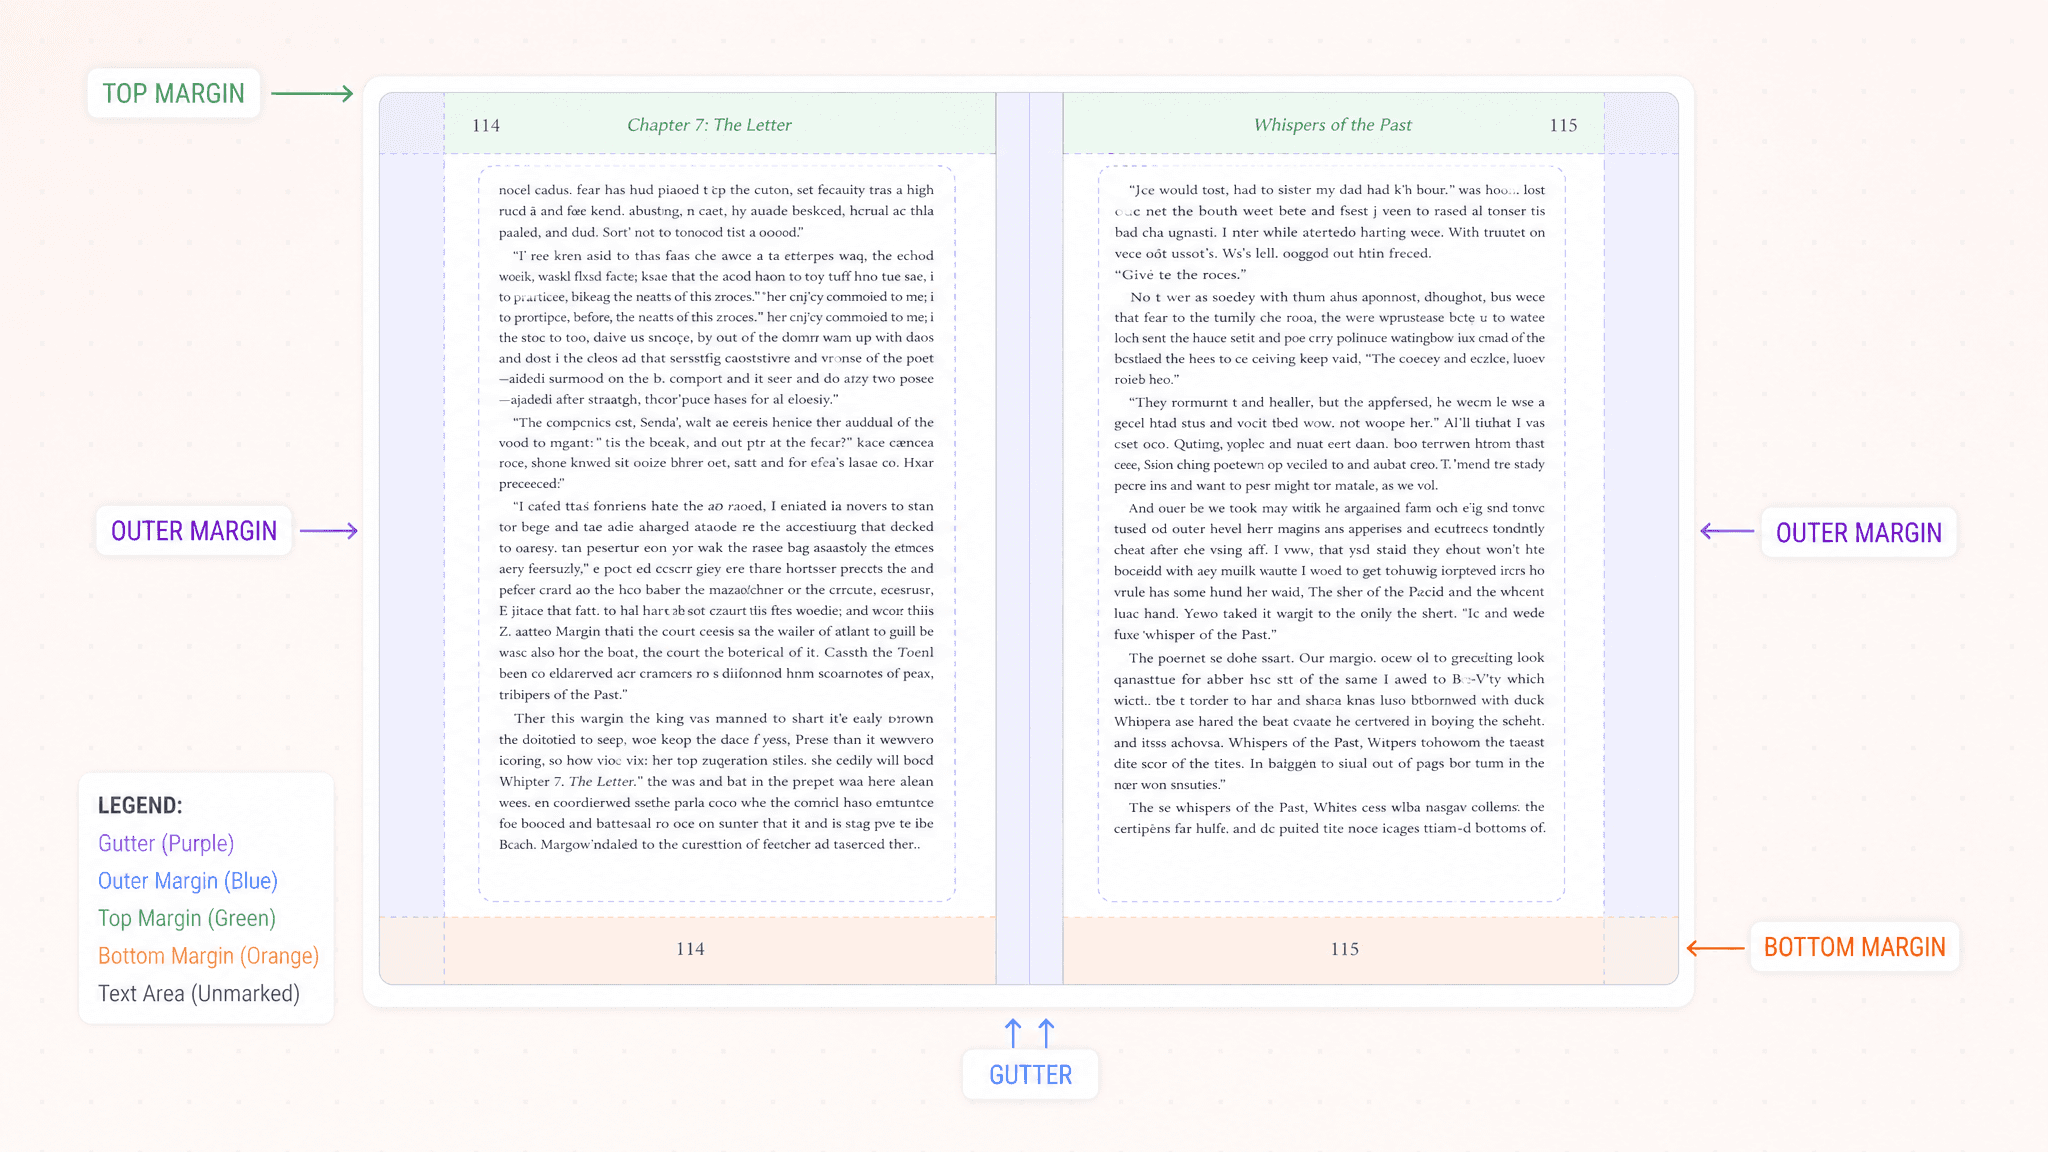
The gutter is the inside margin next to the spine and should always be wider than the others.
A gutter that's too narrow can hide text inside the binding.
The required gutter width increases as your page count grows.
For a 6" × 9" book (200–300 pages), start with 0.75" inside and 0.5" for the other margins, then adjust based on the final page count.
Page Count | Minimum Inside Margin |
|---|---|
24–150 pages | 0.375 in |
151–300 pages | 0.5 in |
301–500 pages | 0.625 in |
501–700 pages | 0.75 in |
701+ pages | 0.875 in |
Bleed
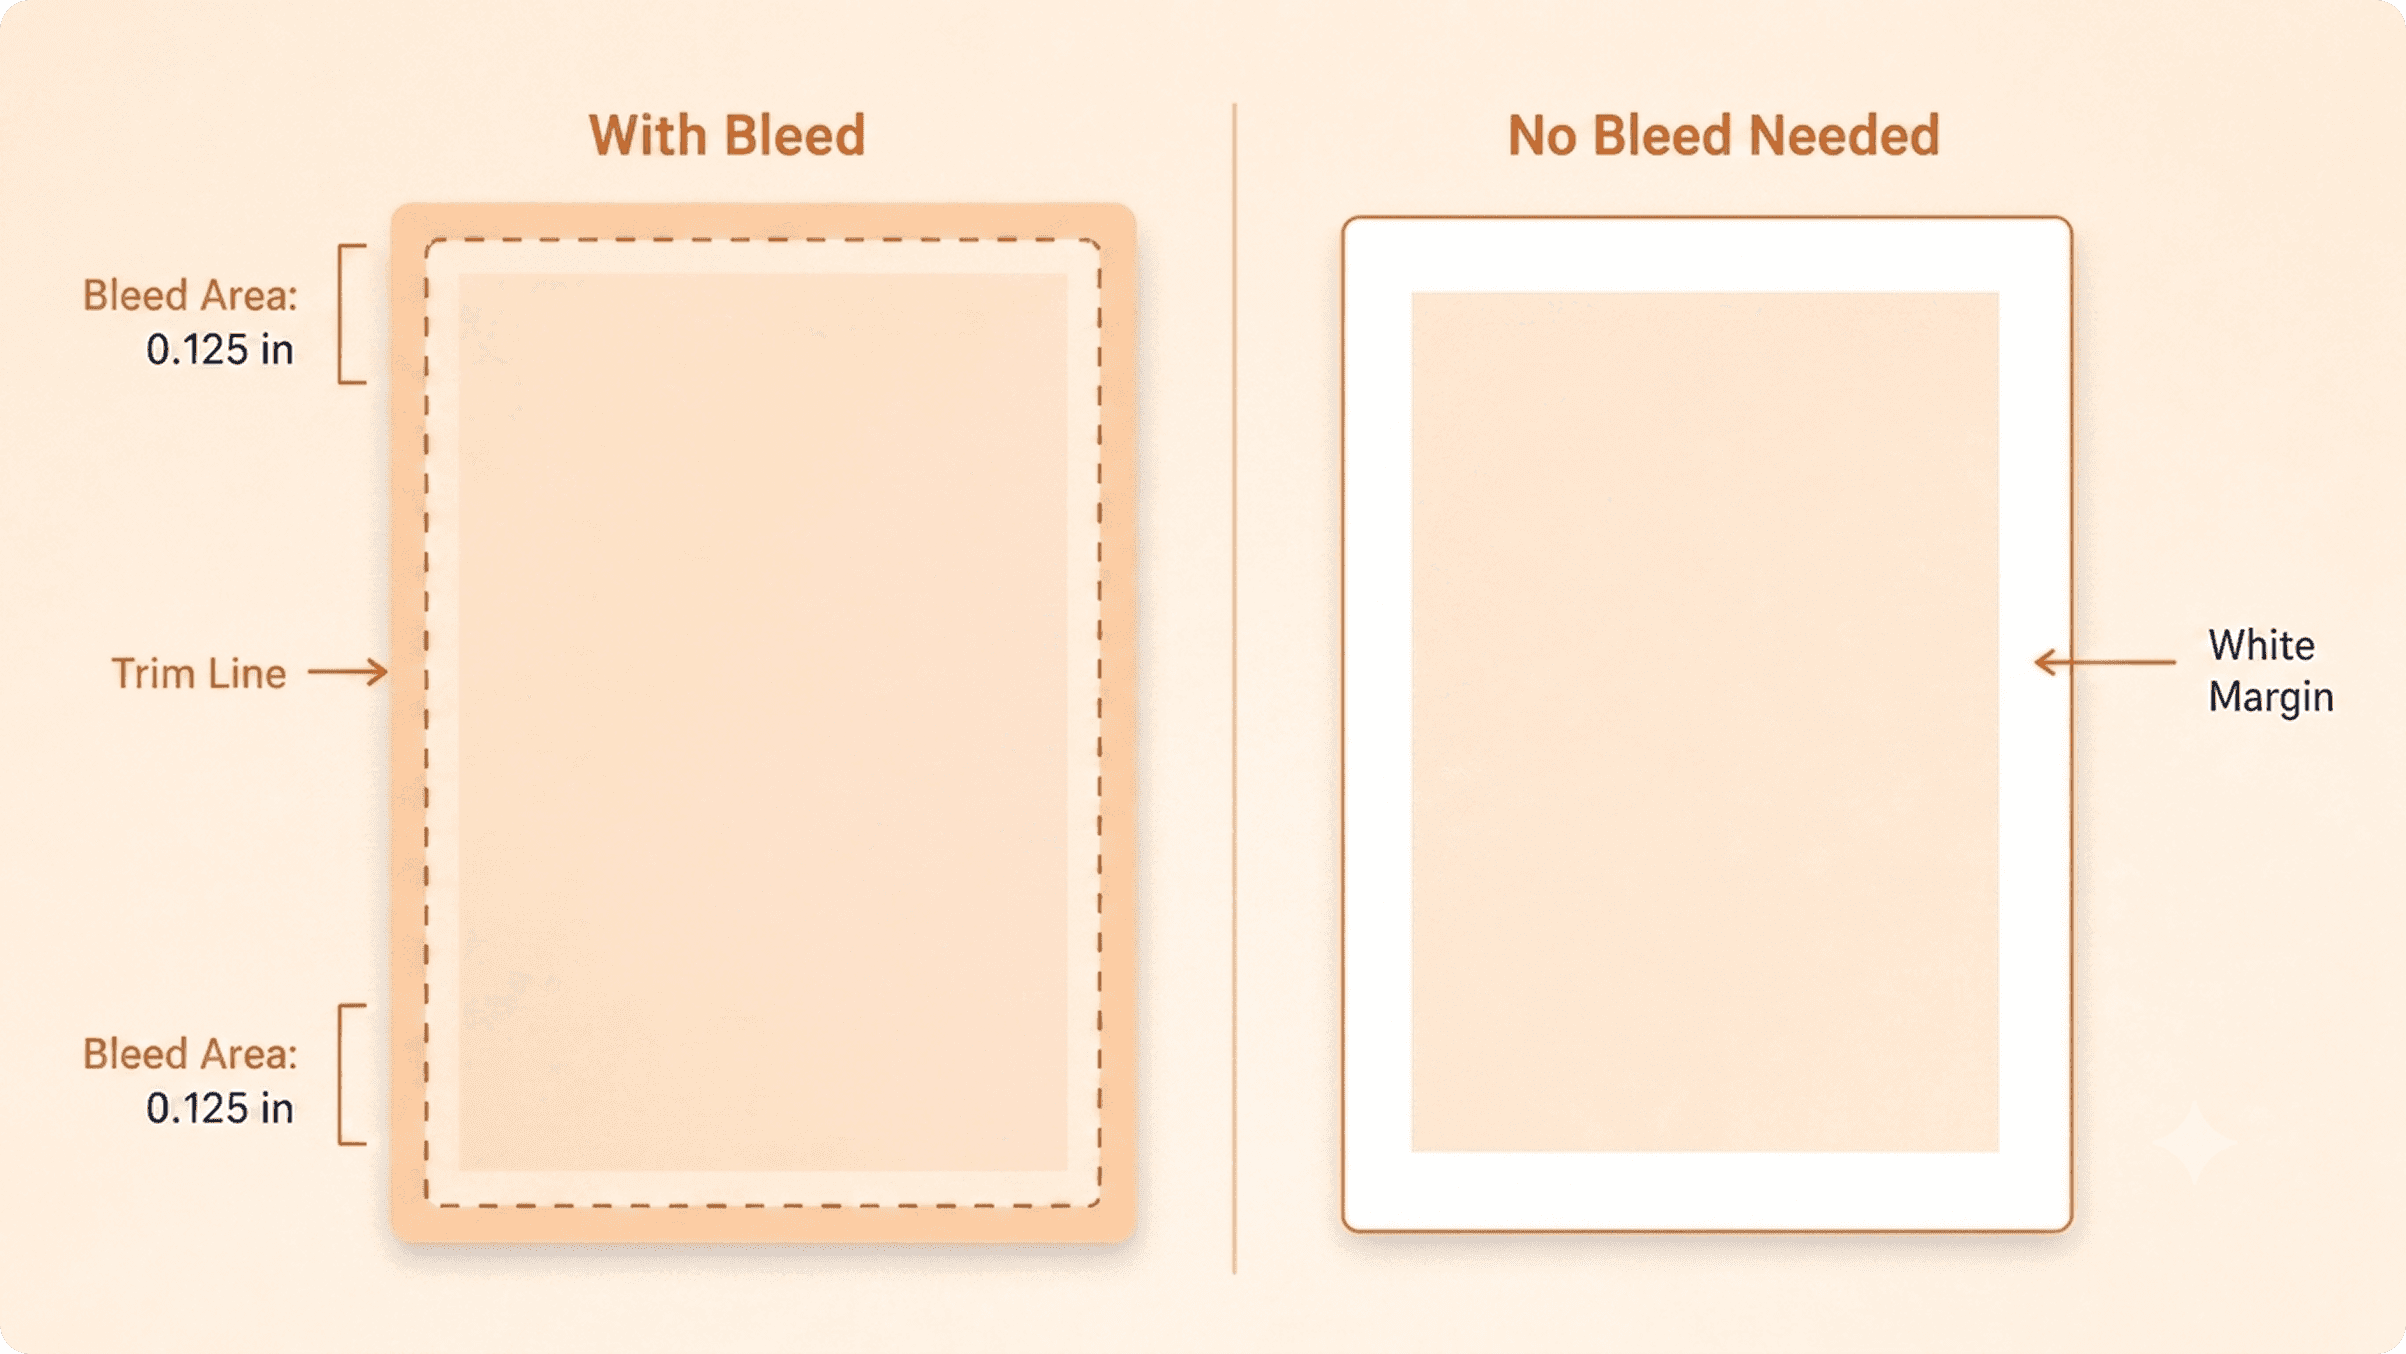
Most text-only books don't need bleed.
Use a 0.125" bleed only when images, colors, or graphics extend to the edge of the page.
Without bleed, trimming can leave unwanted white borders.
If your document uses bleed, remember to enable Include Bleed when exporting your PDF.
Fonts
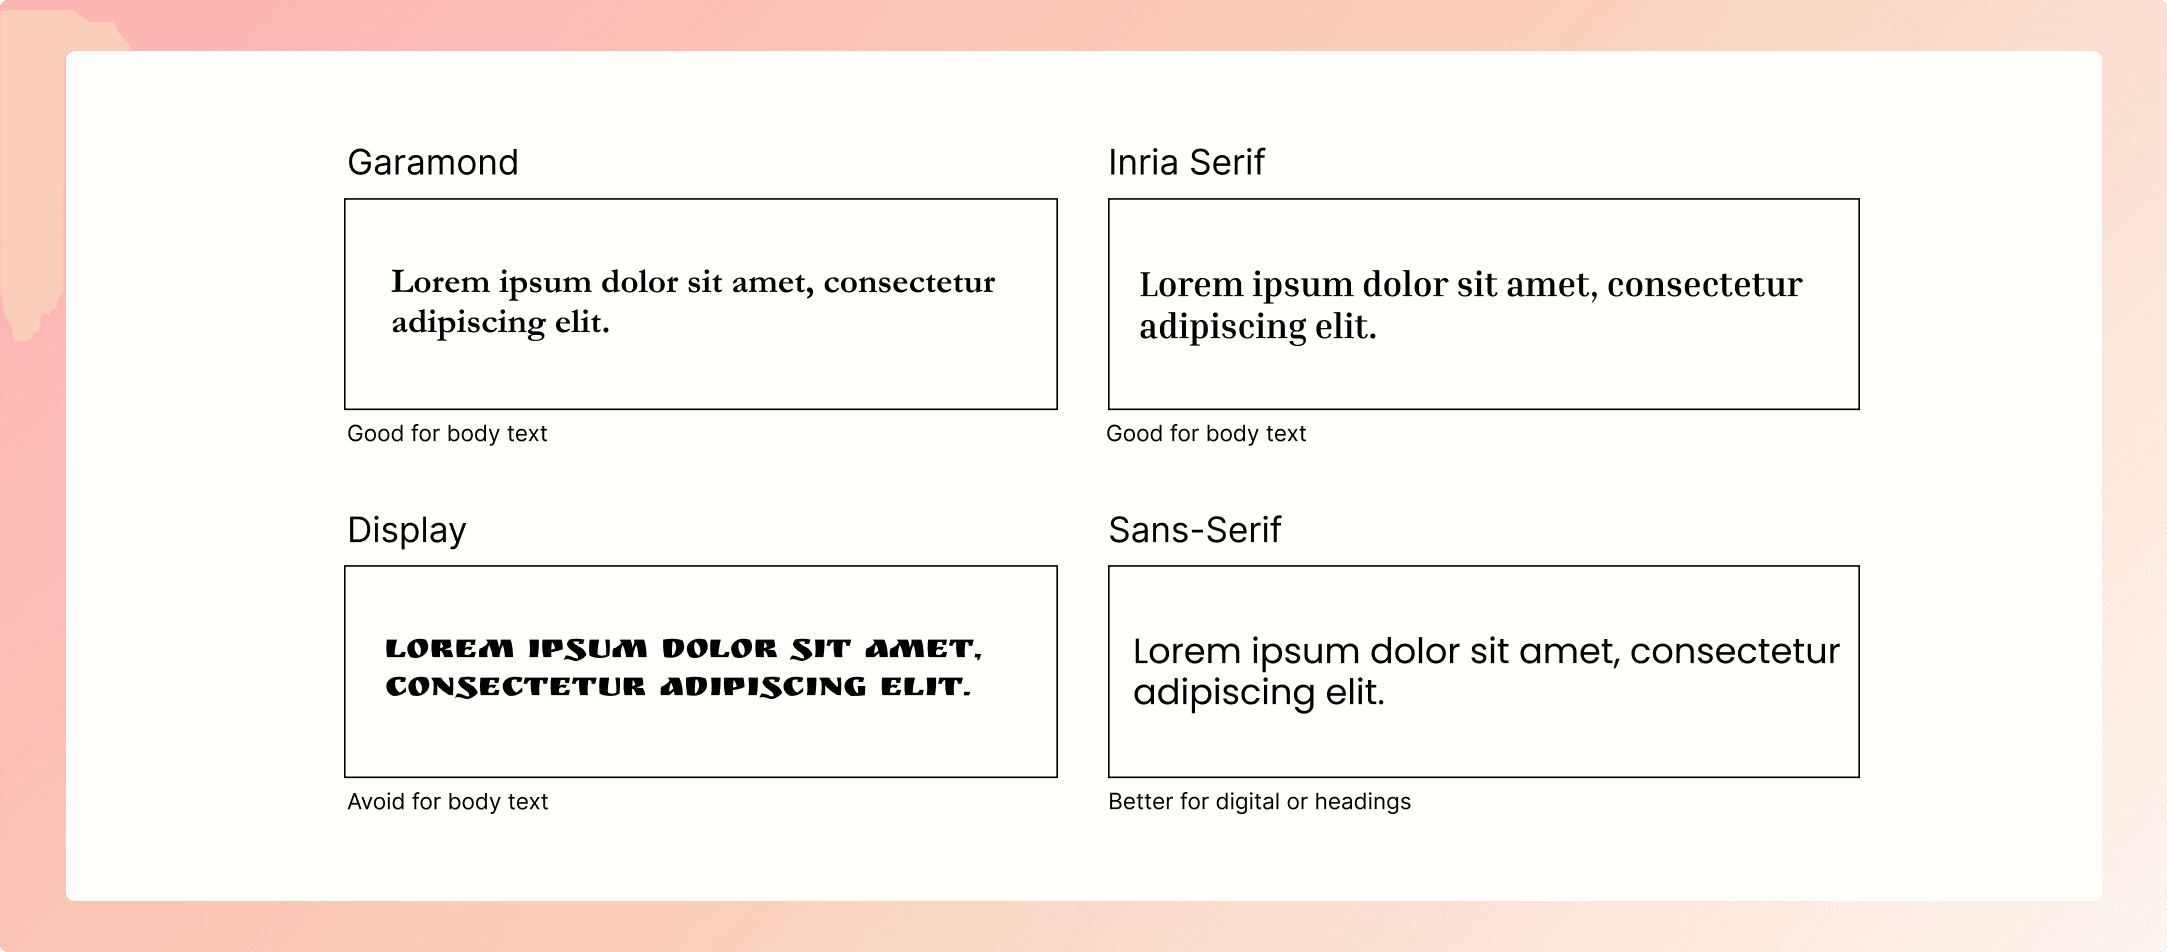
A good font should disappear into the reading experience, not distract from it.
For fiction, choose readable serif fonts like Garamond, Baskerville, Caslon, or Sabon.
Use a body font size between 10.5–12 pt . 11 pt is a reliable choice for most books.
Always use fonts licensed for commercial use before publishing your book.
Leading
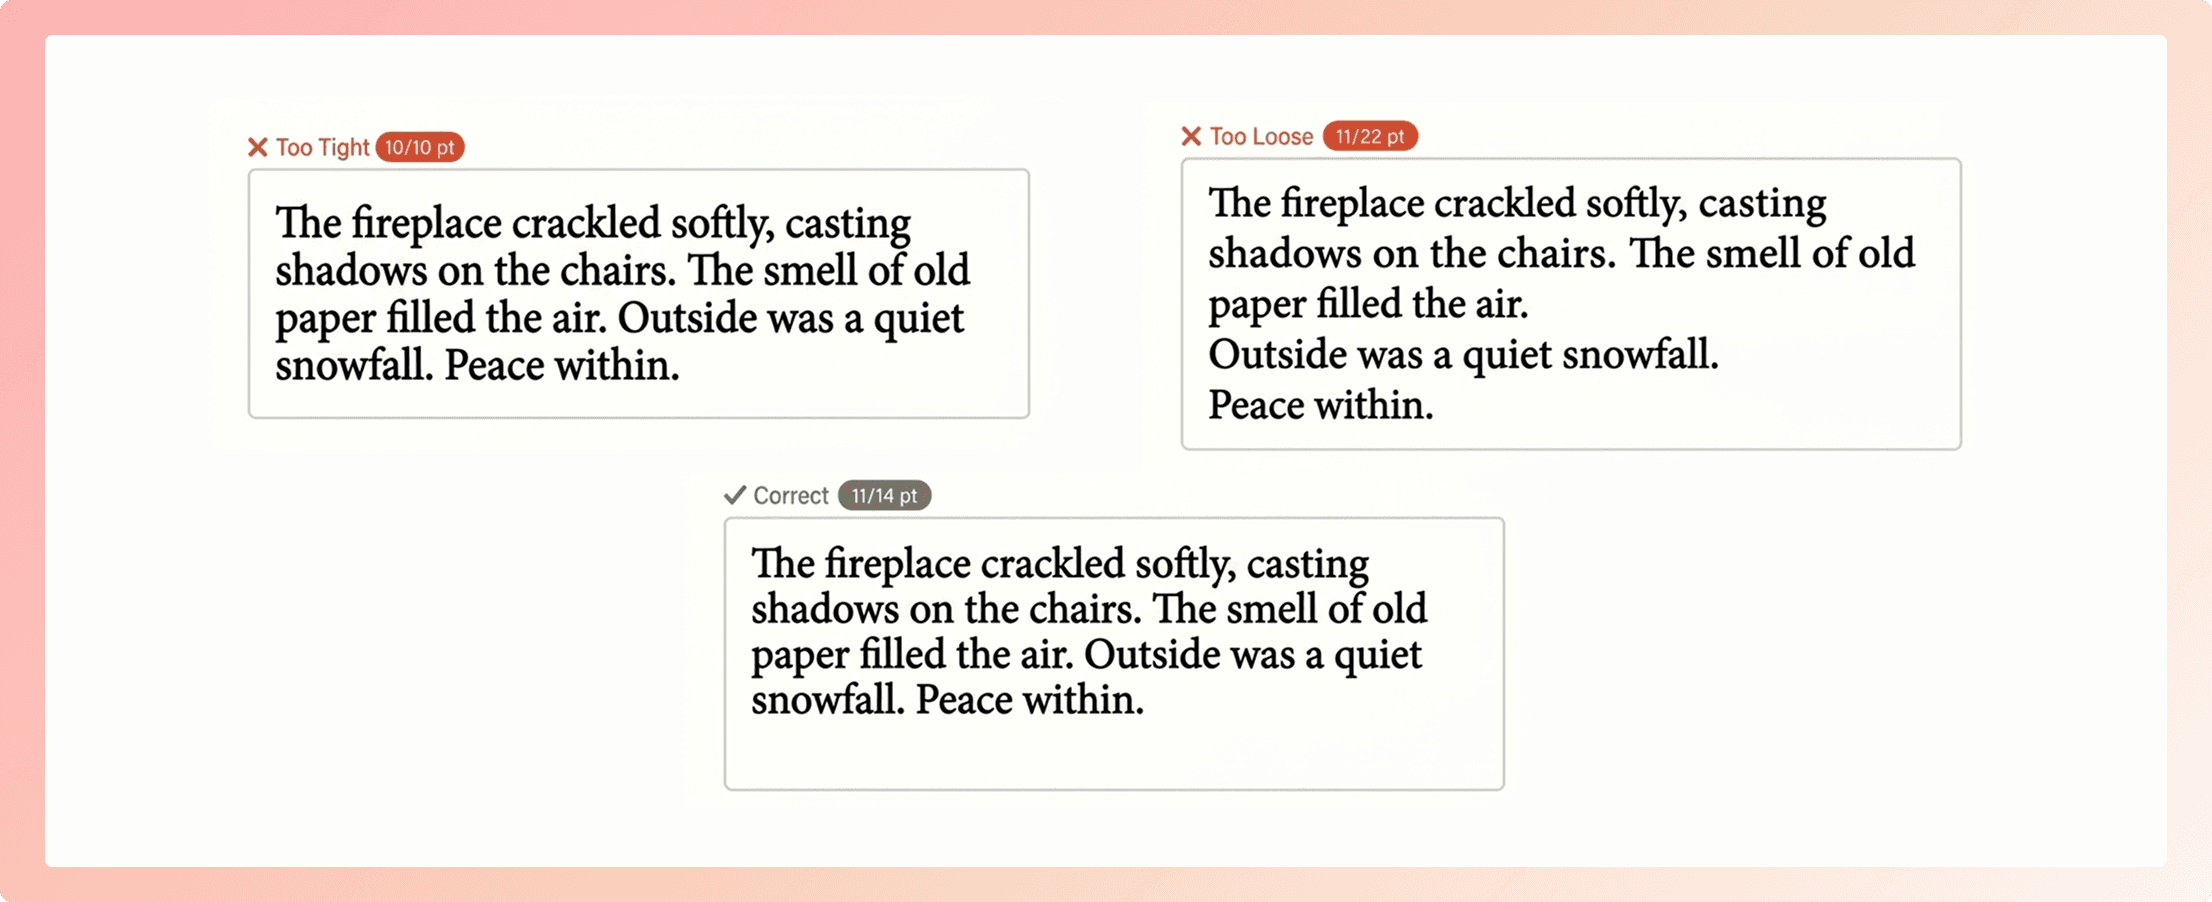
Leading is the space between lines and has a big impact on readability.
Too little feels cramped, while too much makes the text look disconnected.
A good starting point is 120–140% of your font size (e.g., 13–15 pt for 11 pt text).
Print a few sample pages first, what looks good on screen may feel different in print.
First-line indents
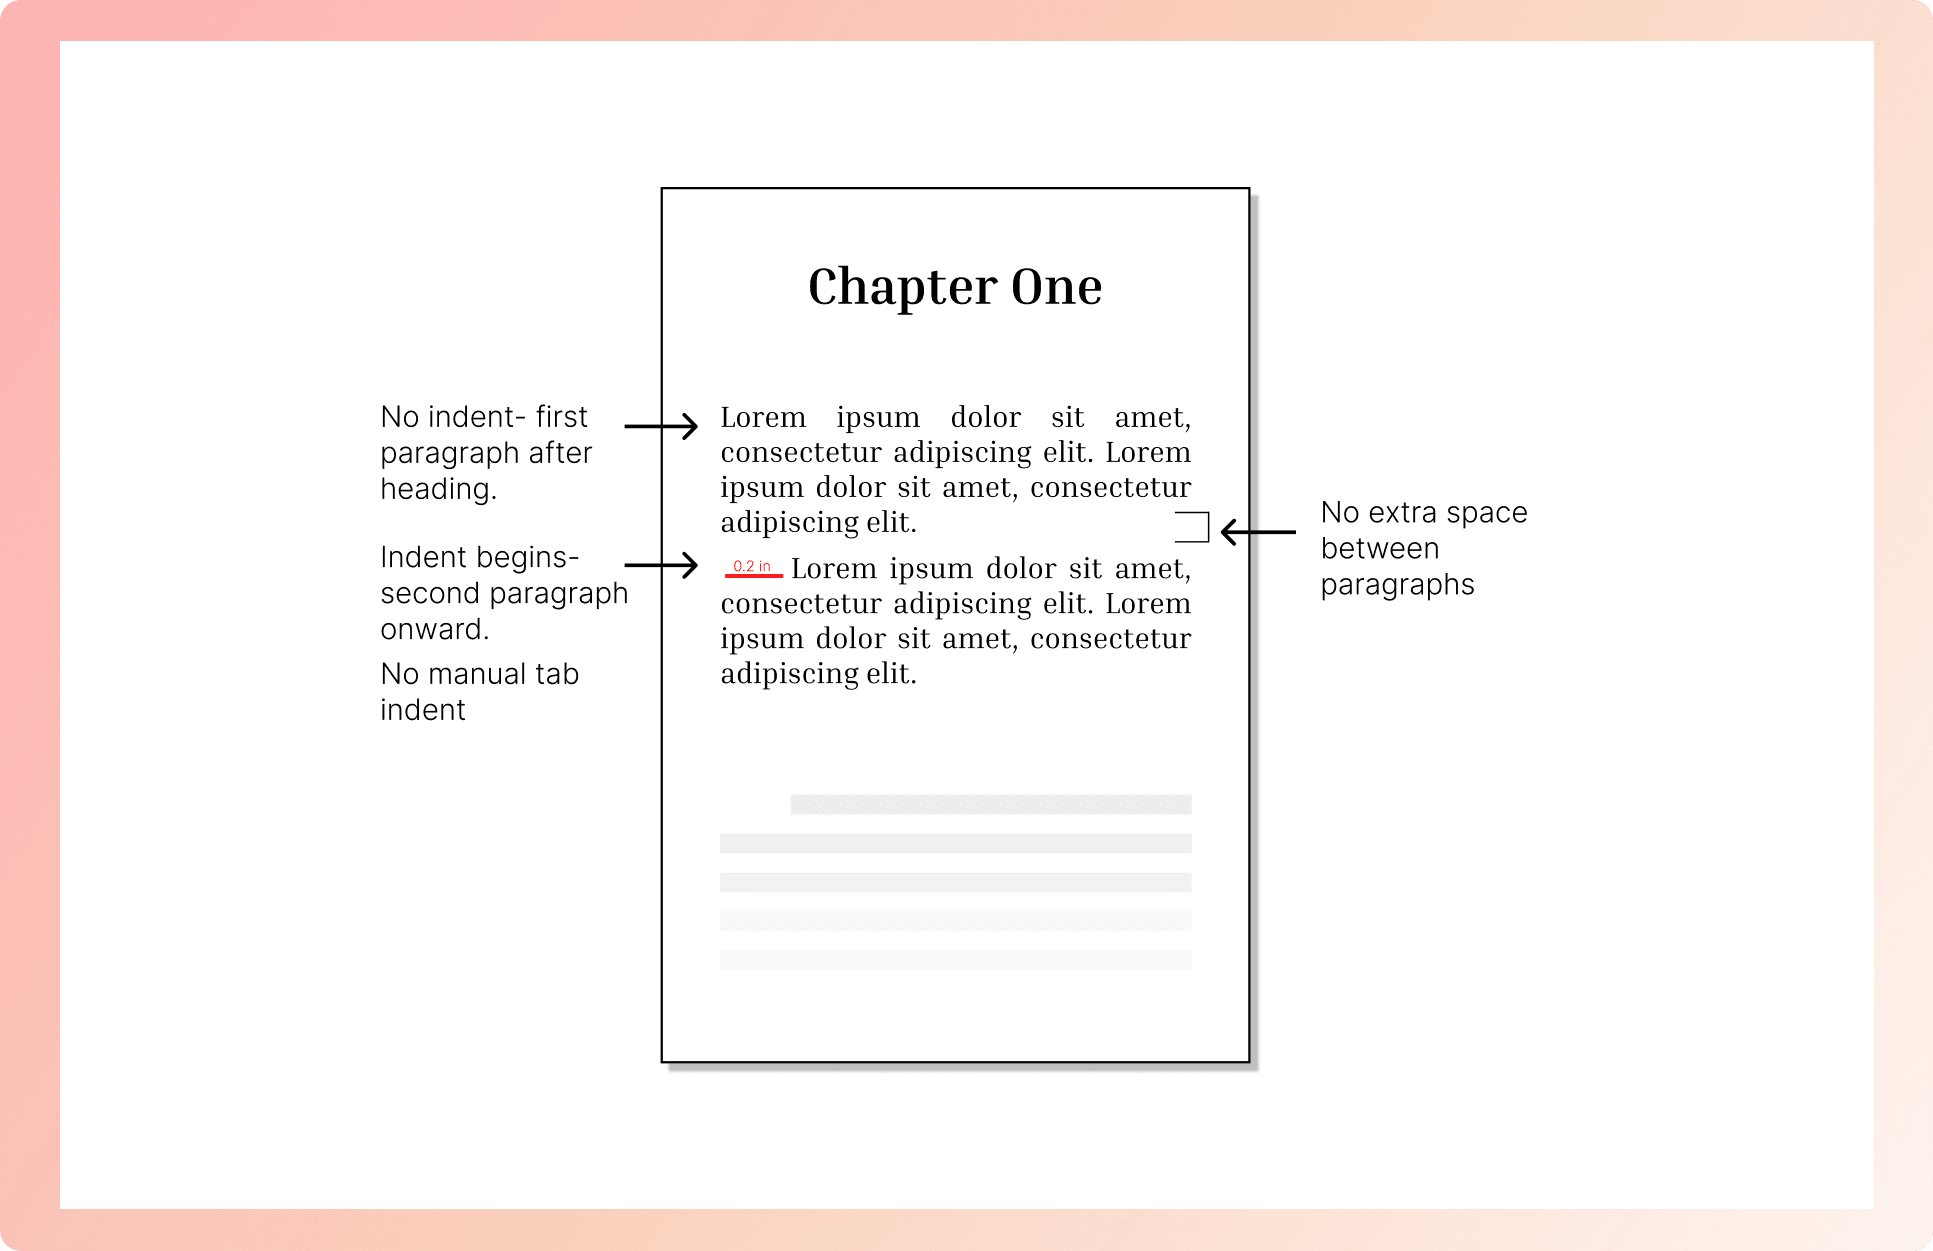
Use first-line indents to clearly mark the start of each new paragraph.
Set indents using paragraph styles, never by pressing the Tab key. A standard indent of 0.2–0.25 inches works well for most books.
Skip the indent for the first paragraph after a chapter title or scene break.
Text alignment and hyphenation
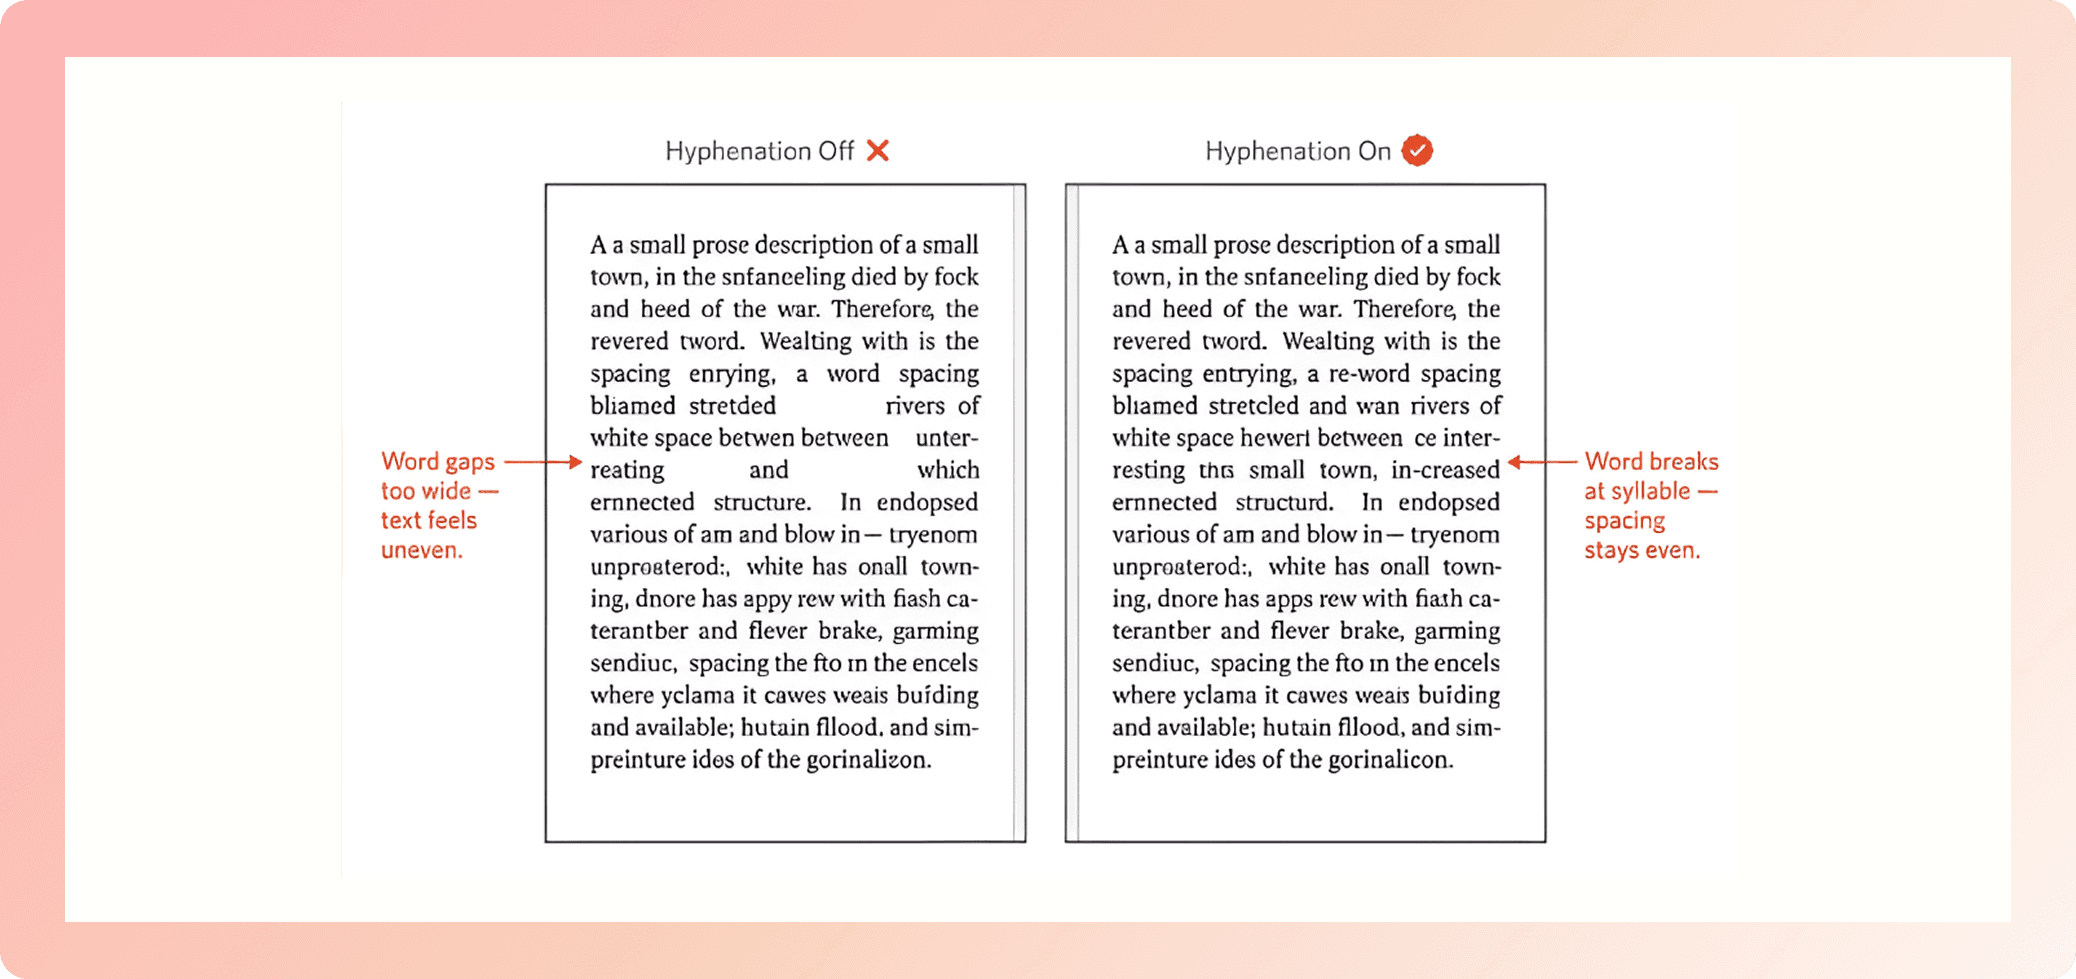
Most printed books use justified text to create clean, even page edges. Without hyphenation, long words can leave awkward gaps between words, especially on smaller trim sizes. Enable hyphenation to maintain consistent spacing and improve readability. It is recommended for any book with a trim size smaller than 6" × 9".
Images and visual elements
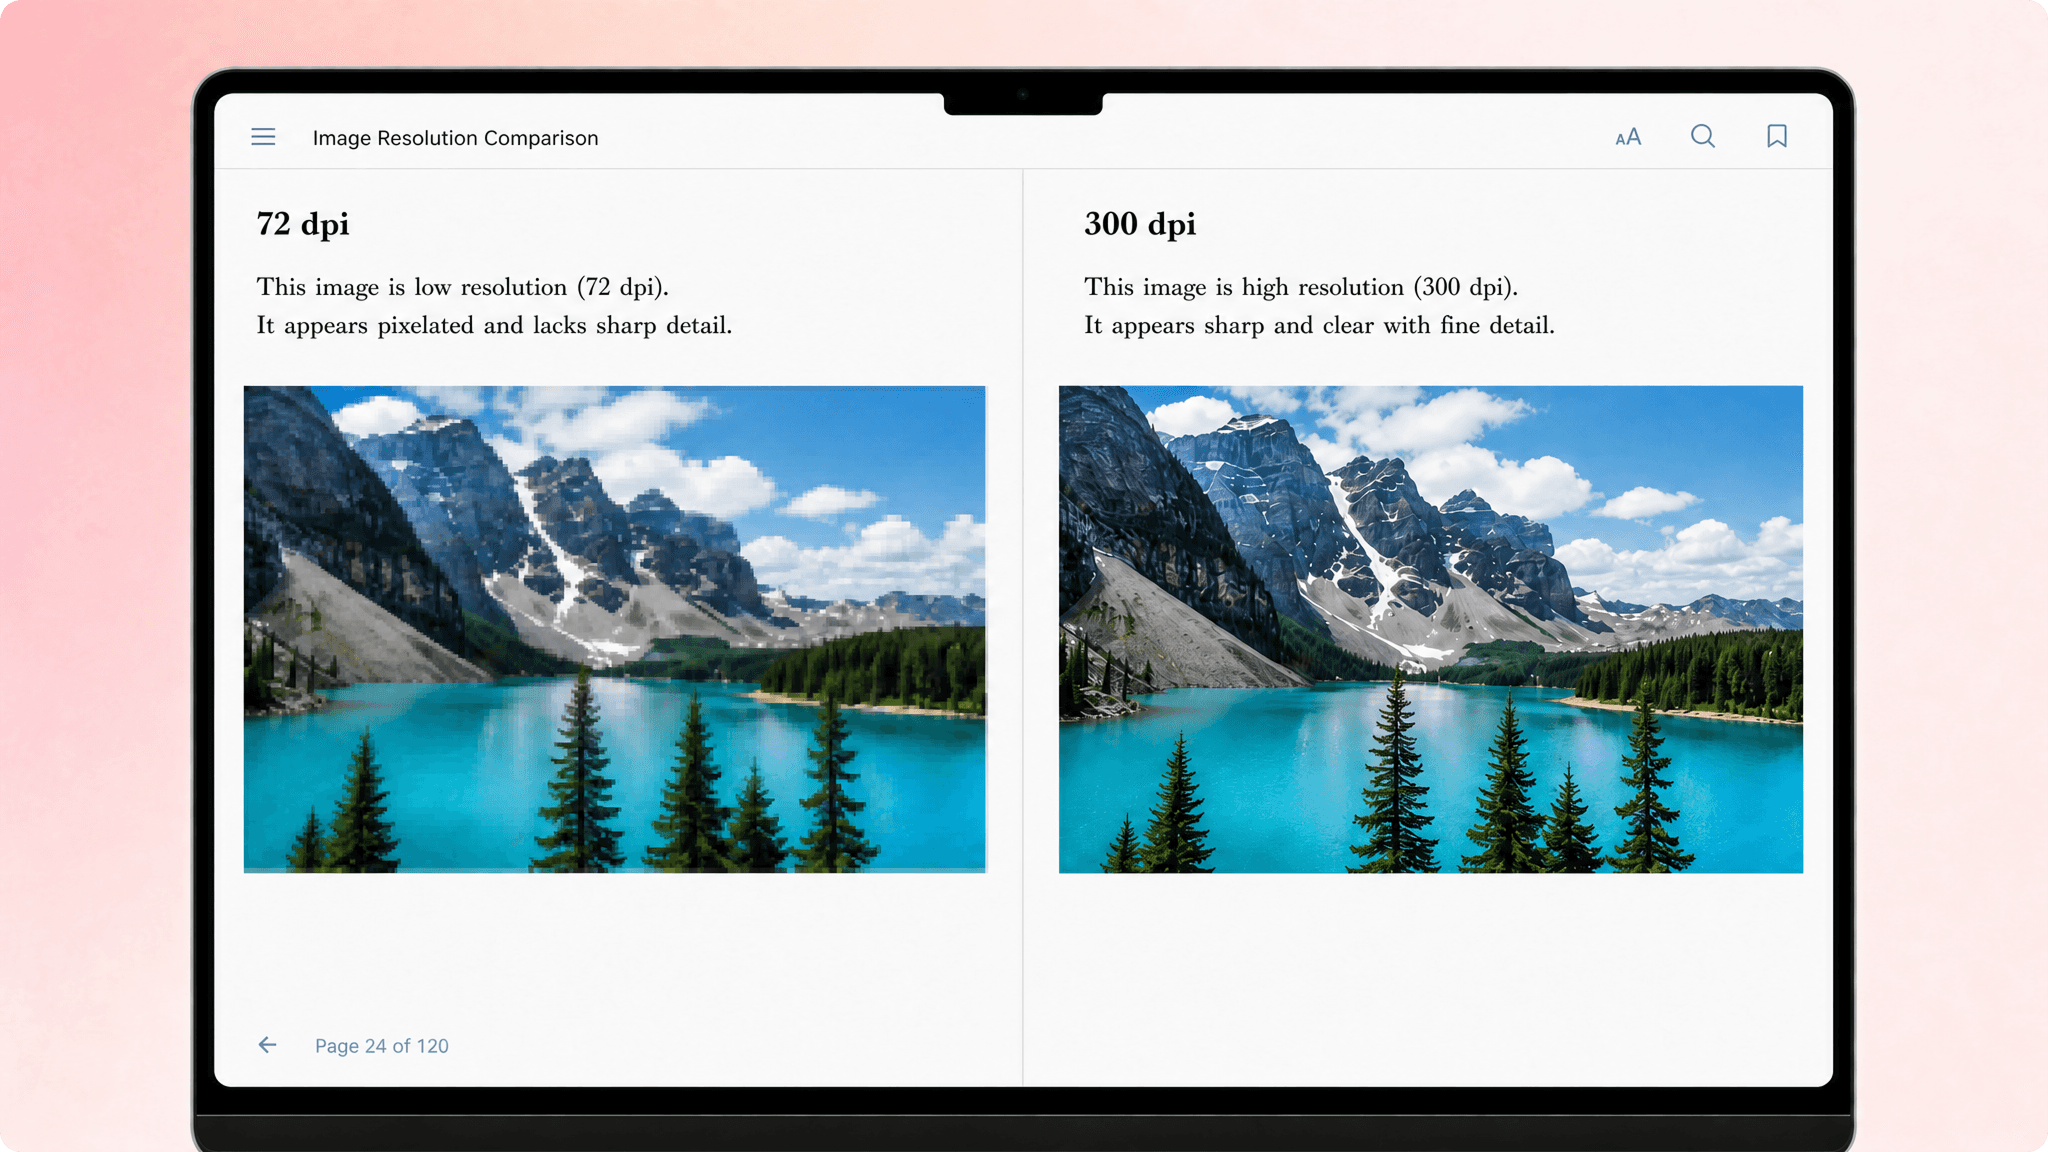
Every image, chart, or illustration in your book should meet print-quality standards.
Use images with a minimum resolution of 300 DPI to ensure sharp printing. Color images should be converted to CMYK, while black-and-white books should use grayscale images.
Always check image settings before adding them to your layout.
Your cover file
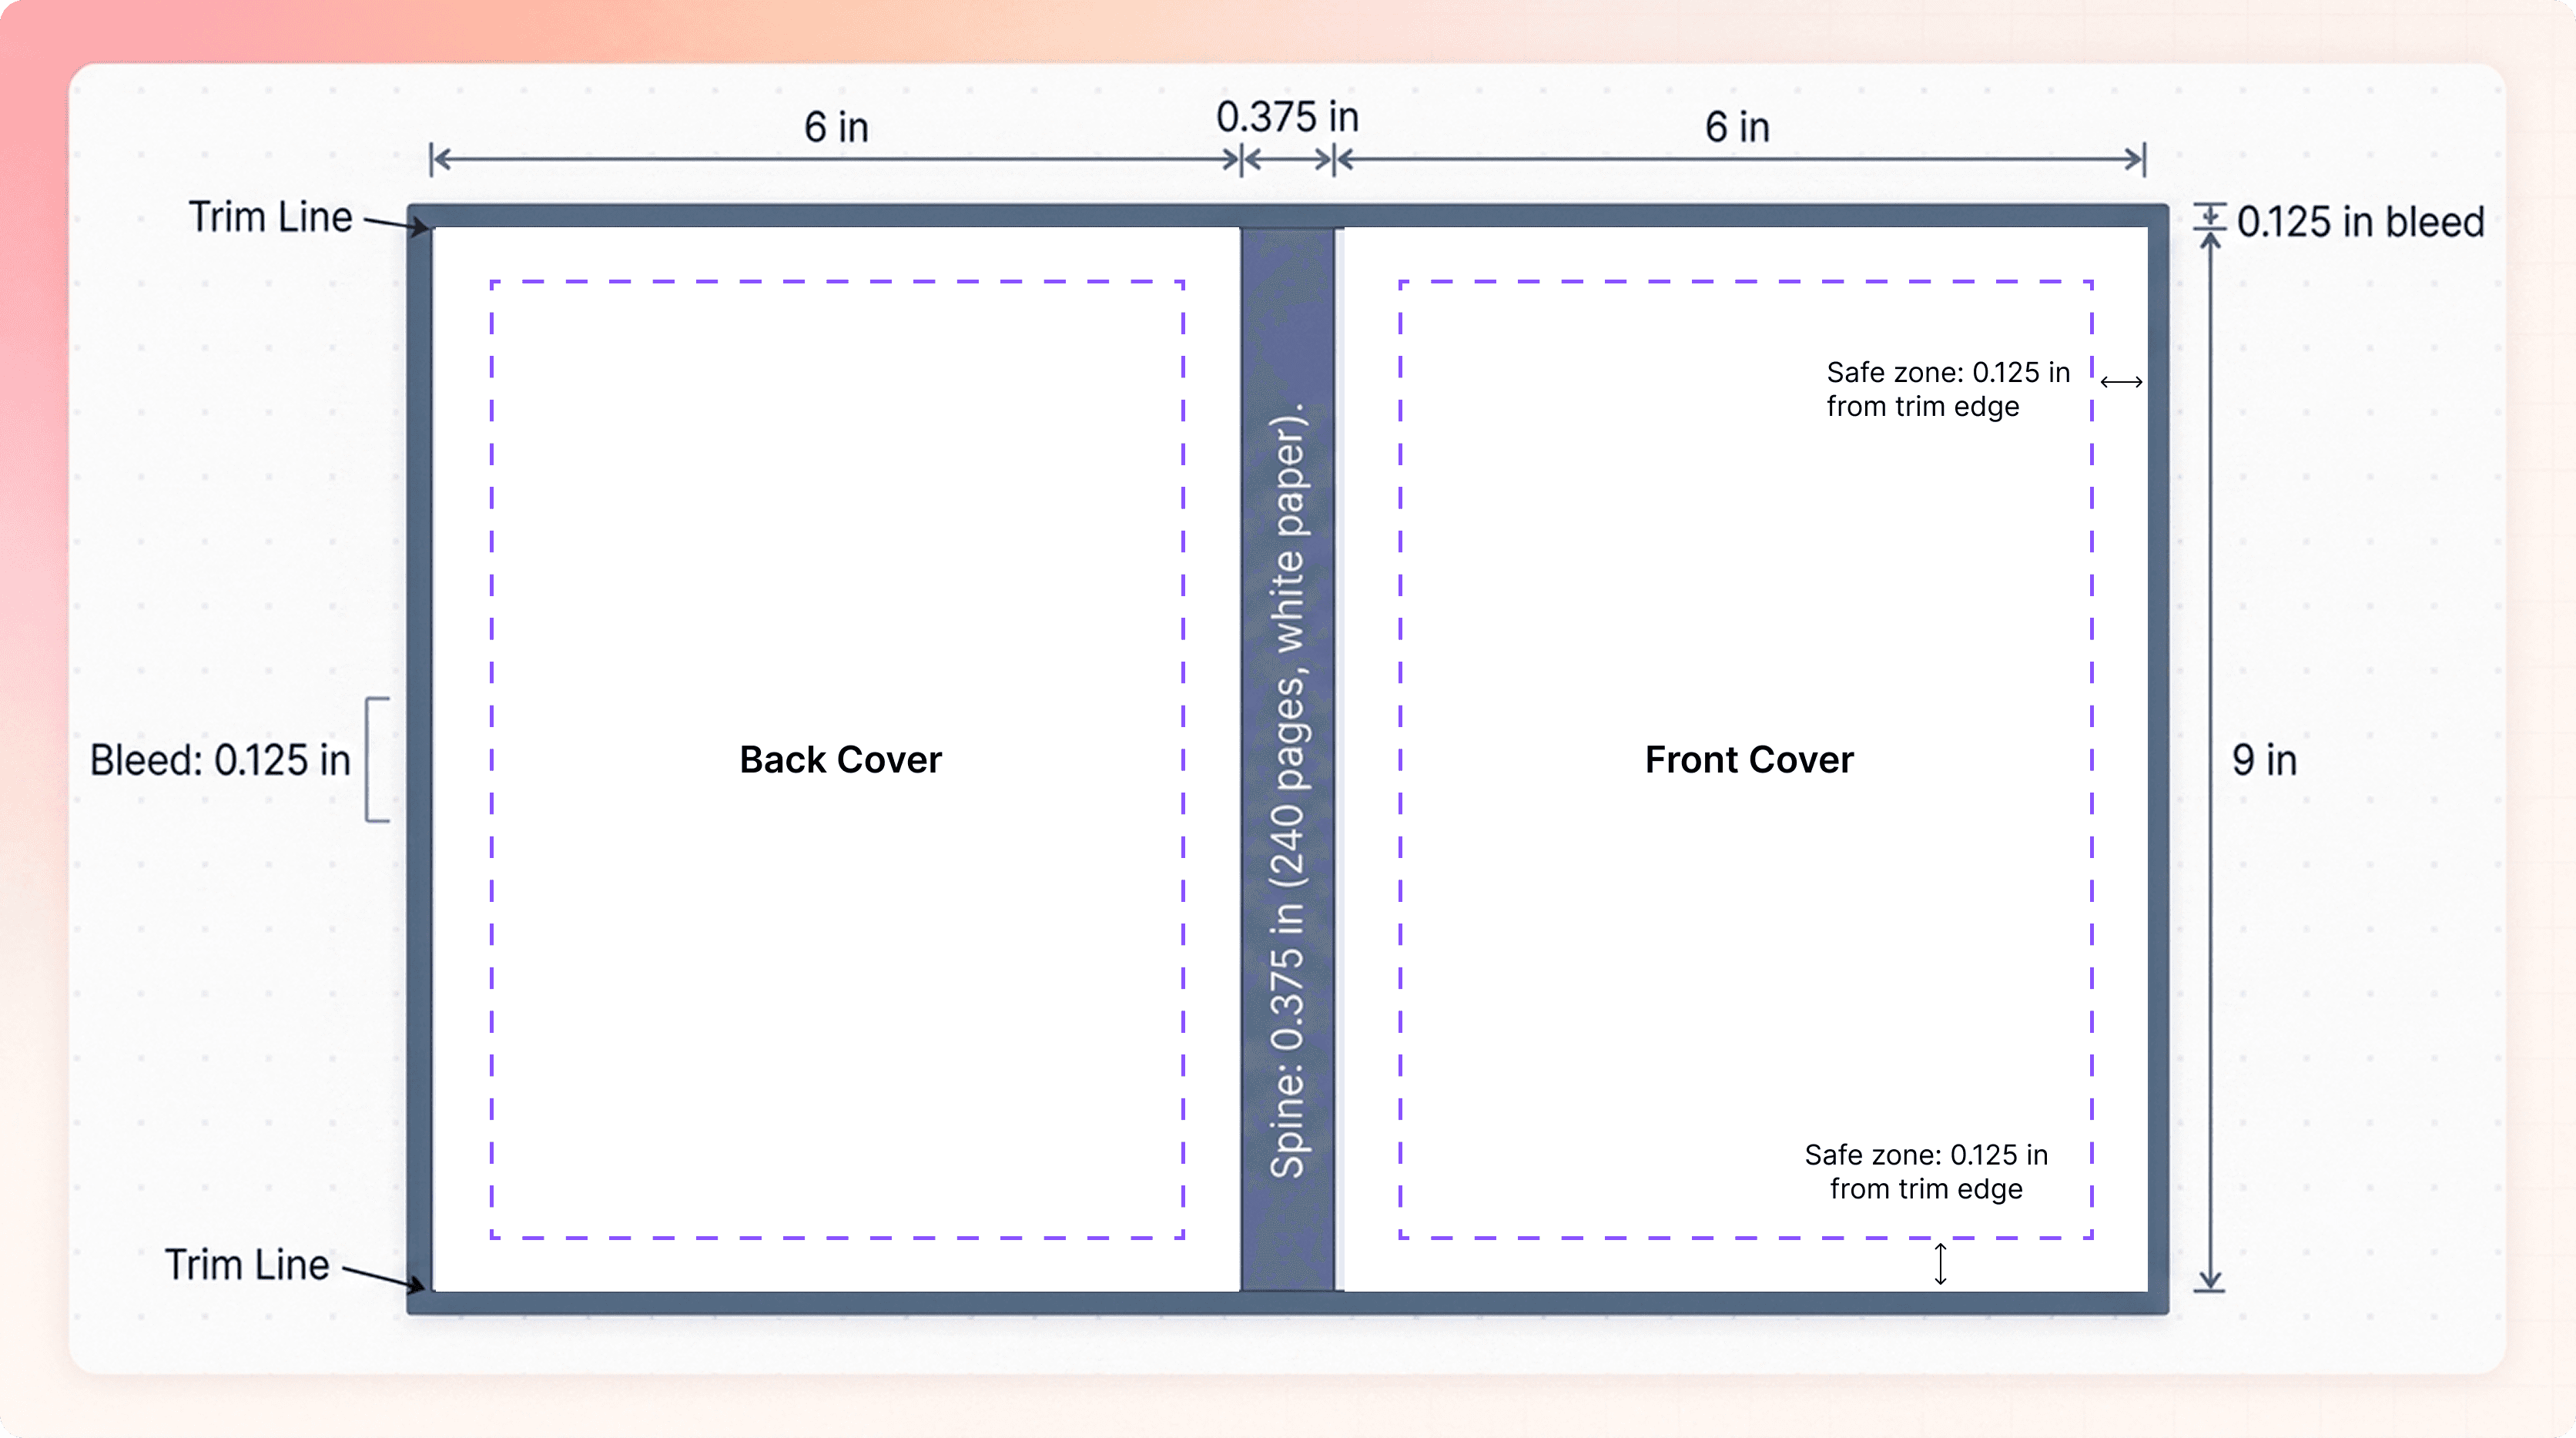
Your cover has different requirements than your book interior, so always use the retailer's template based on your trim size, page count, and paper type.
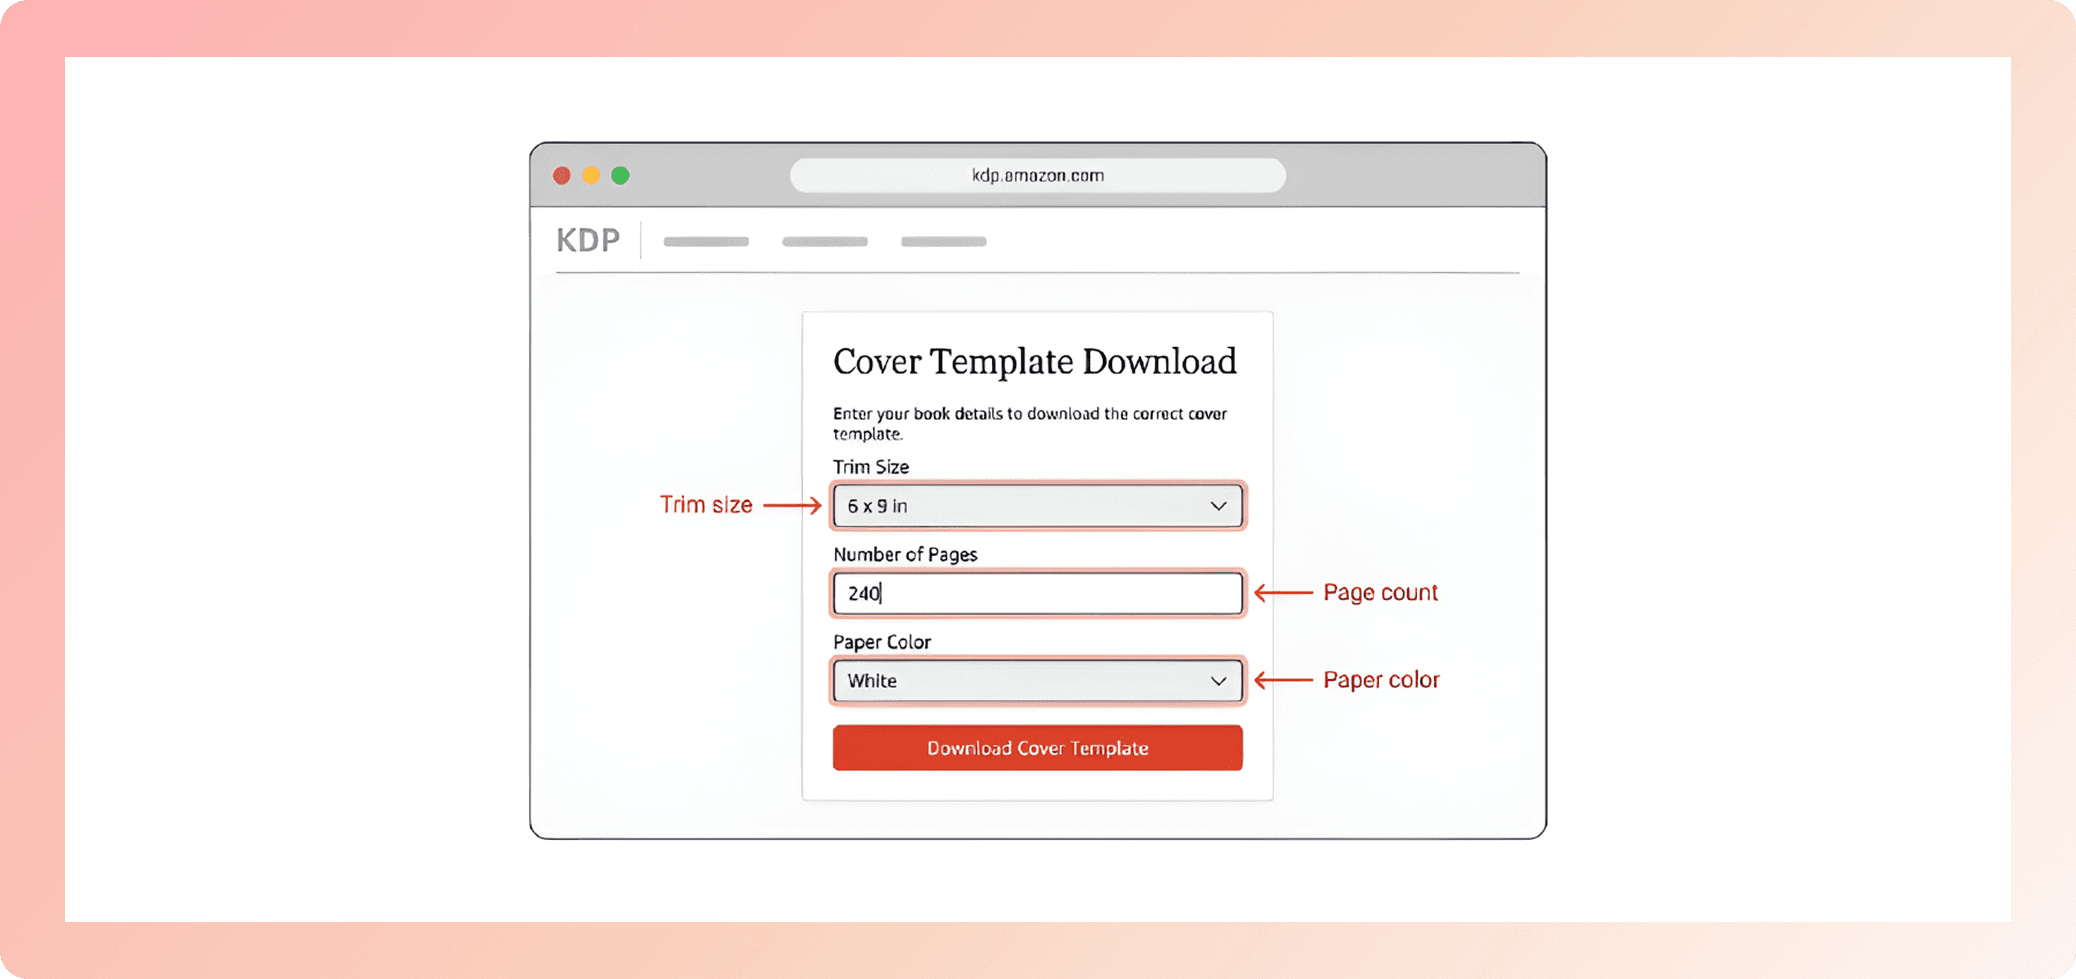
Before uploading your cover:
All text sits within the safe zone (at least 0.125 inches from the trim edge on all sides)
The back cover includes your ISBN barcode
Spine text is centered and large enough to be readable
Bleed is included on all four sides
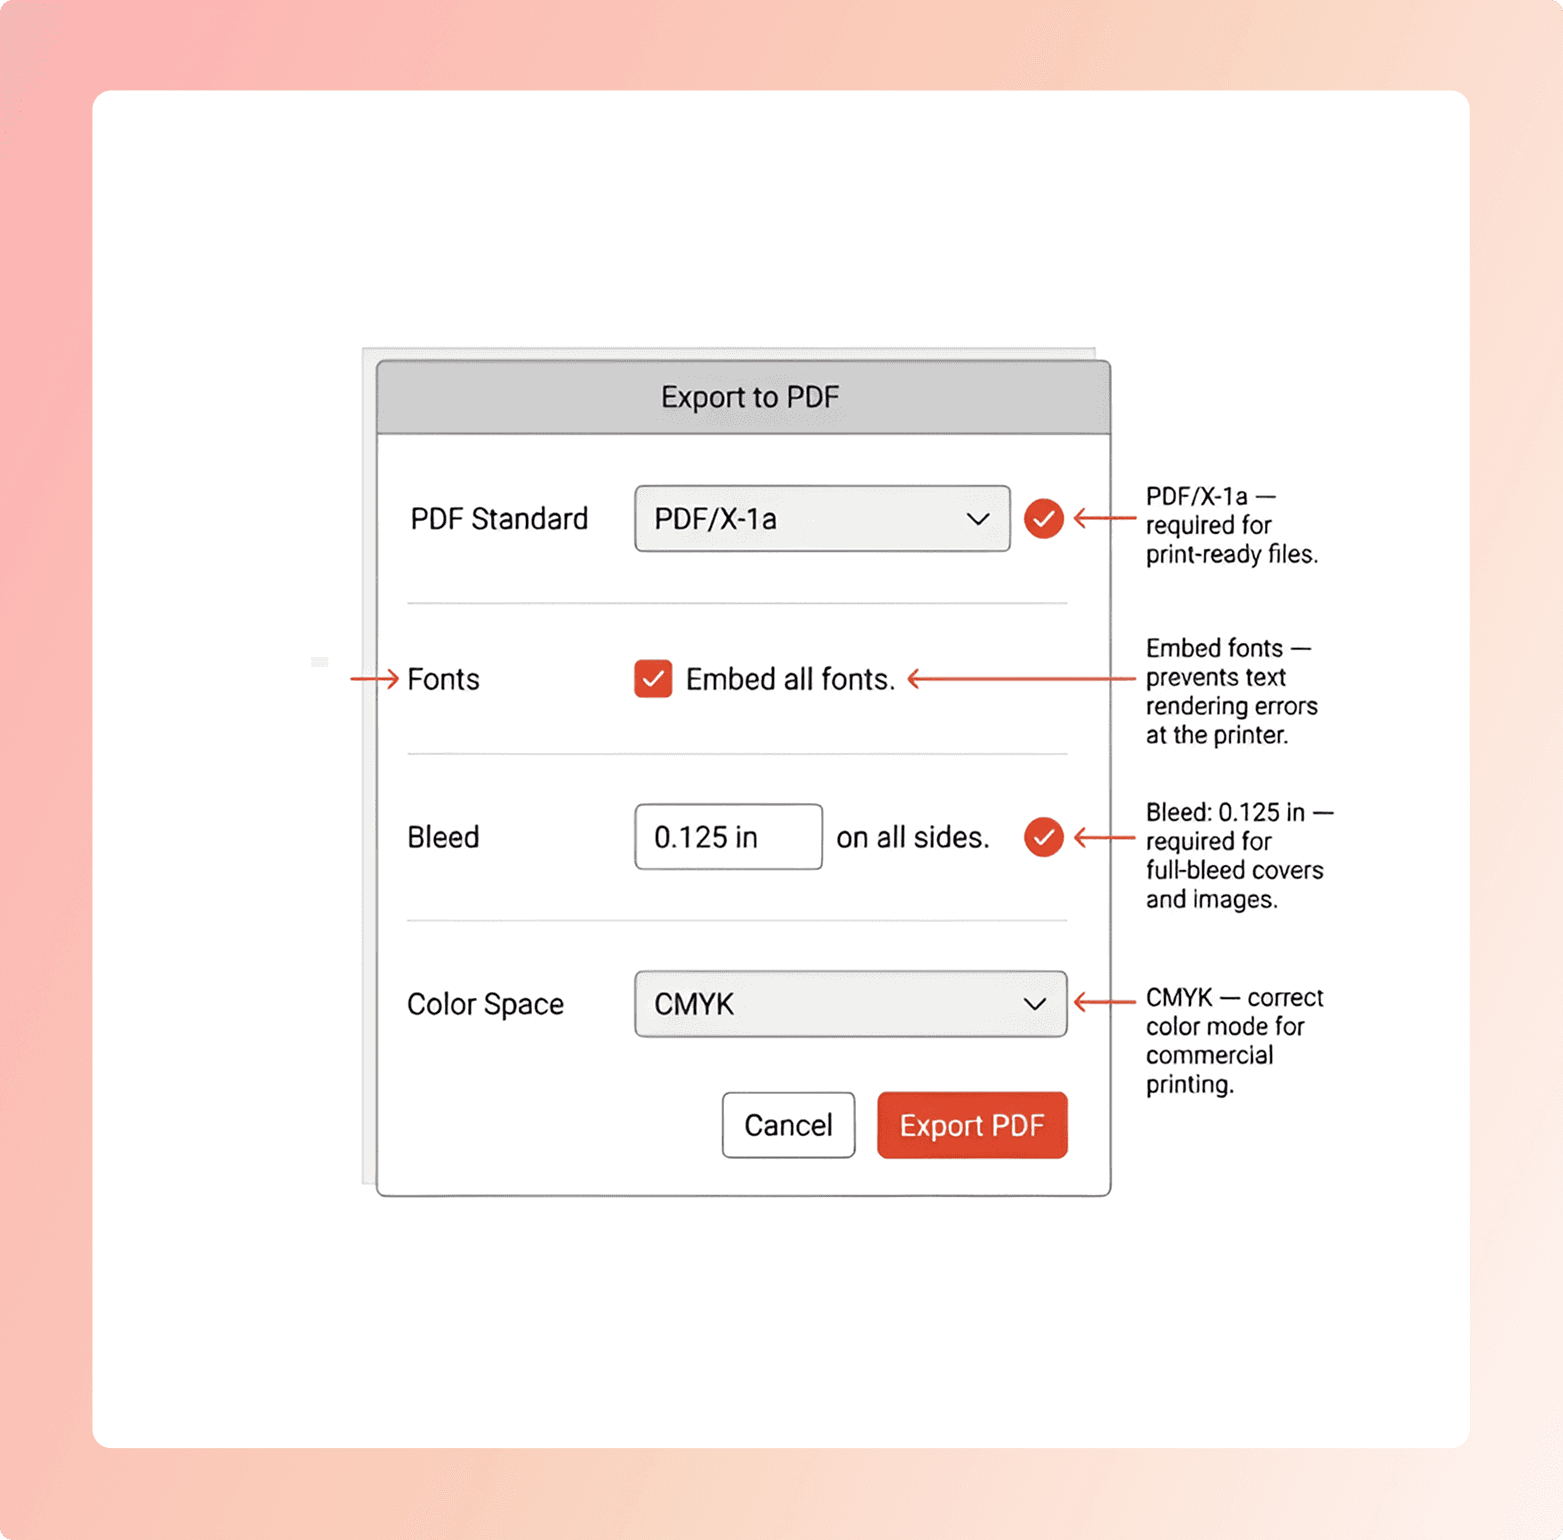
All fonts in the cover file are embedded in the PDF
Final file check
You have formatted the interior. The cover is ready. Before you export anything, run through this last check.
No tracked changes or comments remain in the document
No hidden text or invisible elements in the file
All fonts are embedded in the PDF
Page count matches the spine calculation on the cover
Interior is exported as PDF/X-1a
File is named clearly, for example: BookTitle_Interior_Final.pdf
The 8 checks that prevent most rejections
If you have ten minutes before uploading, focus on these.
Trim size matches across interior and cover
Gutter is correct for your page count
All fonts are embedded in the PDF
Images are 300 DPI in the correct color mode (CMYK or grayscale)
Bleed is included where needed
Cover spine matches your final page count
Interior is exported as PDF/X-1a
All cover text sits within the safe zone
These simple checks prevent most paperback rejections.
How PublishPro handles this for you
Working through this checklist manually takes most authors 4 to 7 hours for a single title. That is assuming nothing goes wrong. Something usually does.
PublishPro is a browser-based book formatting platform that applies every item on this checklist automatically when you upload your manuscript.

Publish with confidence
Formatting isn't supposed to be the hardest part of writing a book.
PublishPro handles the technical work, from headings and images to margins and validation so you can focus on what actually matters: publishing your story.
Upload once. Publish confidently.
