Avoid KDP rejection: How to properly format a 300-page paperback (Step-by-step guide)
Amazon KDP paperbacks need more than a simple manuscript upload.


Words by
Fatima Hassan
Last updated:
Learn how to properly format a 300-page paperback for KDP without error, from setting the right trim size and margins to exporting a clean print-ready file now.
The moment every author dreads
You finally type "The End."
Months, maybe years of writing have led to this moment. You upload your manuscript to Amazon KDP, already imagining your book in readers' hands. Then the email arrives.
"Your file has been rejected."
Not because of your story. Not because of your writing. Because your gutter margin is too small. Or your fonts aren't embedded. Or your PDF doesn't meet print requirements.
It's a frustrating reality for thousands of self publishing authors every year. Formatting issues remain one of the biggest reasons authors spend extra days, or even weeks fixing files before they can publish.
The good news? Most of these mistakes are completely avoidable.
Let's walk through the steps that will help your 300-page paperback pass KDP's checks the first time, and see how PublishPro takes care of the complicated formatting work for you.
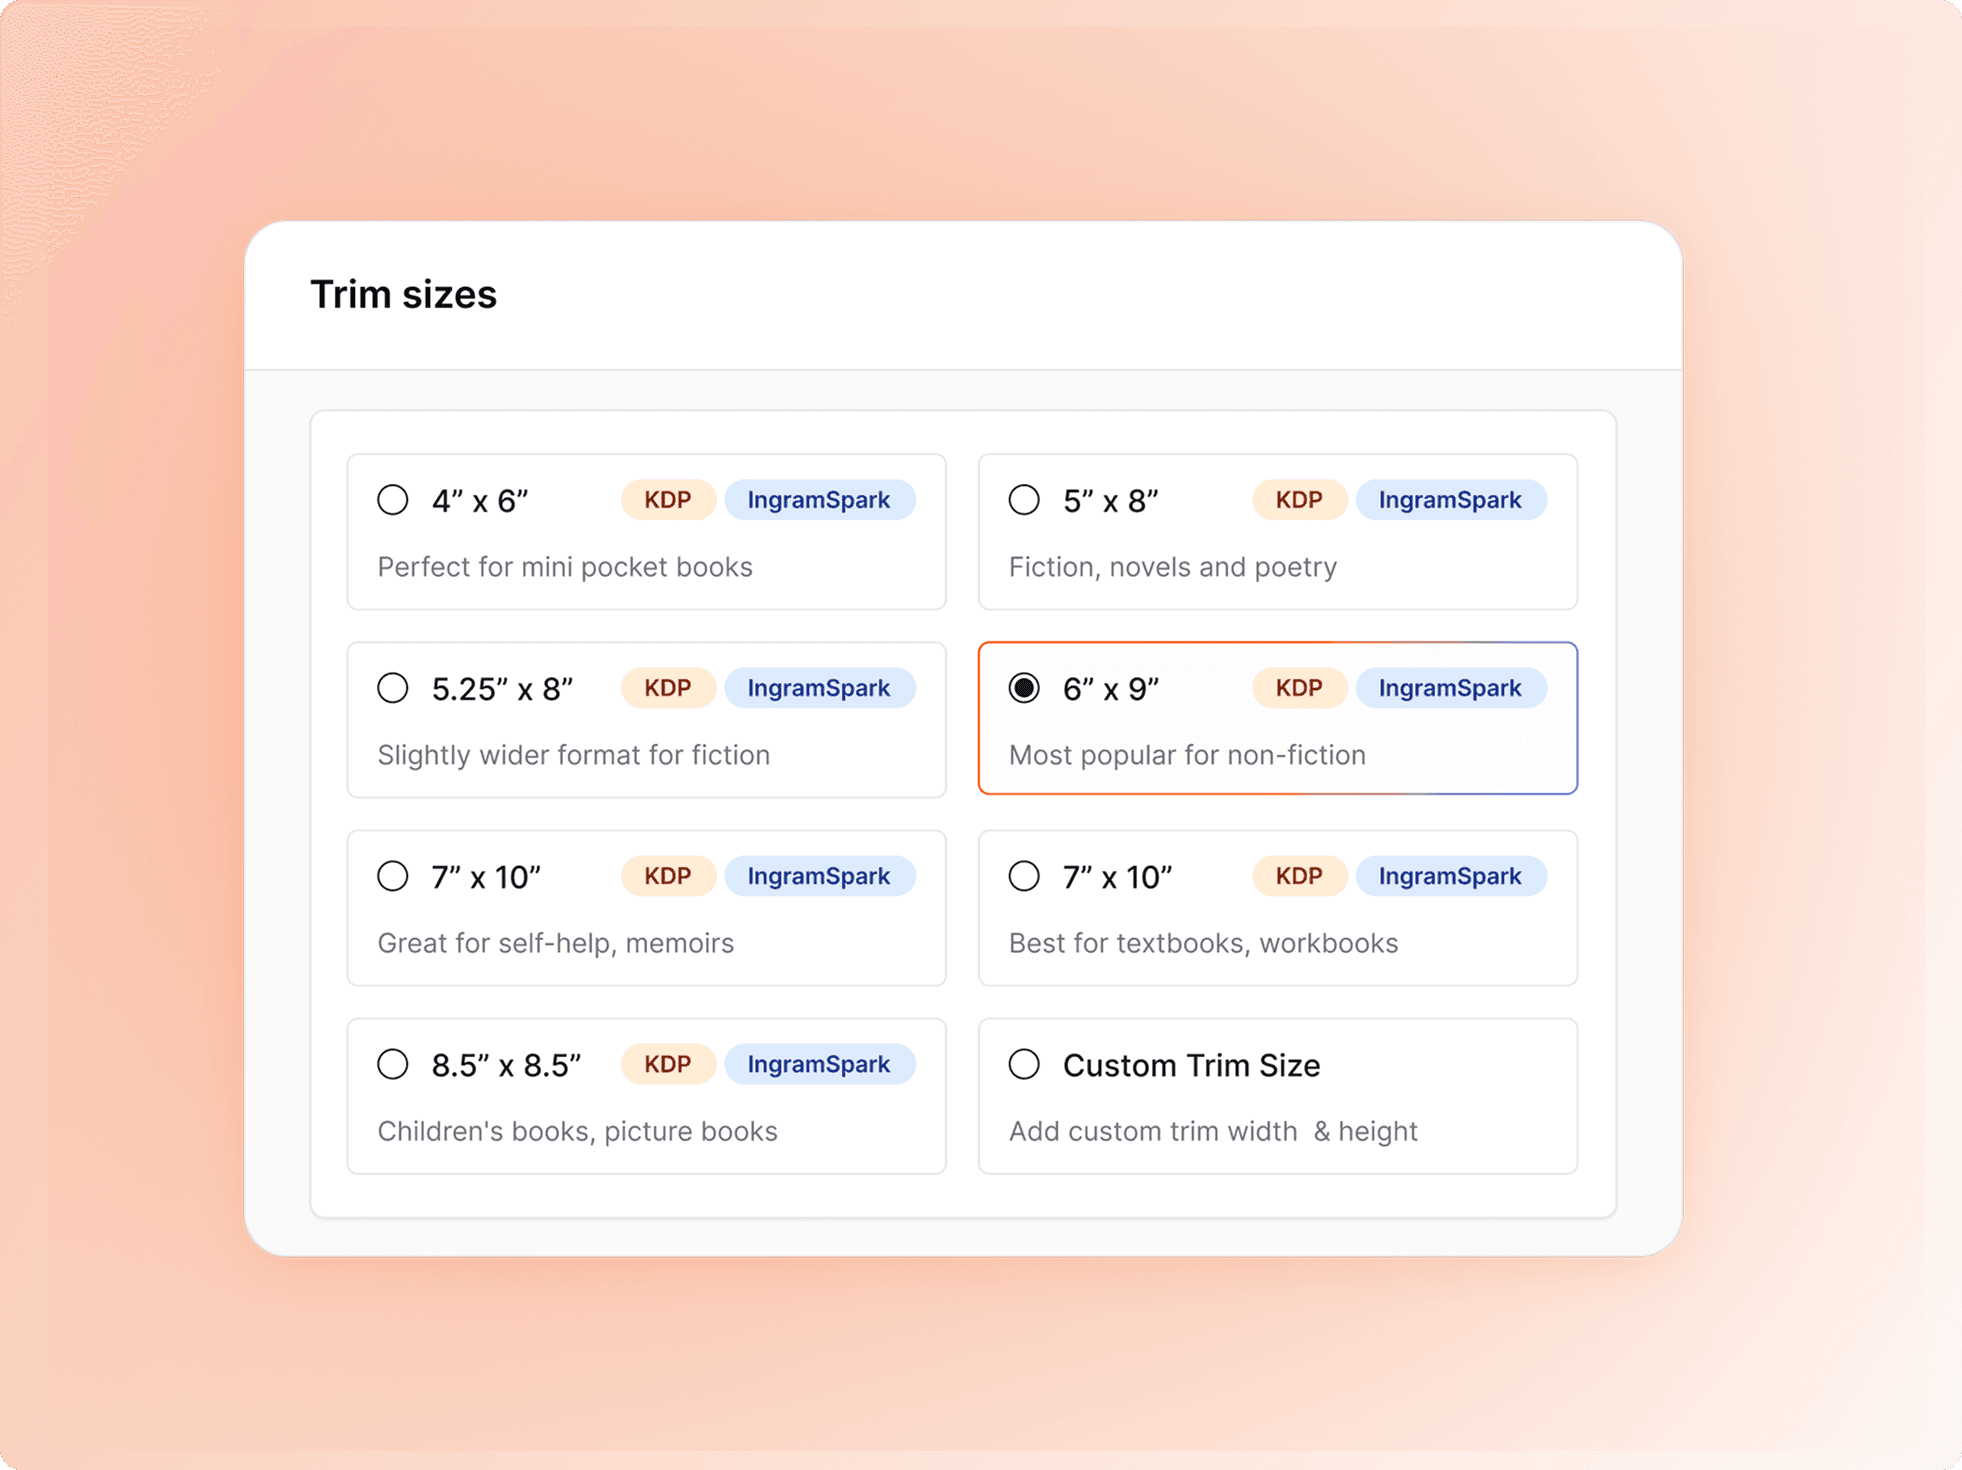
Step 1: Pick your trim size (and stick with it)
Think of your trim size as the foundation of your house. Change it halfway through, and everything else shifts with it.
For most paperbacks, 6 × 9 inches is the sweet spot. It's one of the most popular trim sizes because it's comfortable to read, cost effective to print, and widely accepted across publishing platforms. Once you choose it, don't change it later, or you'll end up reformatting hundreds of pages.
Genre | Common Trim Size |
|---|---|
Novels | 5 × 8 in |
Fiction | 5.5 × 8.5 in |
Most Nonfiction | 6 × 9 in |
Workbooks | 8.5 × 11 in |
Your interior PDF must exactly match the trim size you choose during KDP setup. If your PDF is 6 × 9 inches but your KDP settings say 5.5 × 8.5, the upload will fail.
With PublishPro: Choose your trim size once, and every page is built around it automatically.
Step 2: Meet the gutter, the inner margin everyone forgets
Here's a fun fact most first time authors don't know:
A 300-page book doesn't open the same way a 100-page book does. The thicker the book, the more of each page disappears into the spine.
That's why KDP requires a wider gutter margin for longer books. Too small, and readers have to force the book open just to read the inside text. Too large, and the layout starts looking awkward.
Calculating the right gutter isn't exciting, but it is essential.
Page count | Minimum Gutter |
|---|---|
24–150 | 0.375" |
151–300 | 0.5" |
301–500 | 0.625" |
501–700 | 0.75" |
PublishPro automatically adjusts gutter margins based on your page count, so your book feels just as good in someone's hands as it looks on your screen.
Step 3: Understand bleed before you export
A bleed means that images, background colors, or design elements extend all the way to the edge of the printed page. Because books are trimmed after printing, the artwork must extend slightly beyond the final page size to avoid thin white borders.
Choose no bleed if:
Your pages contain only text.
Images stay inside the page margins.
Backgrounds are white.
This is the most common choice for novels and standard nonfiction books.
Choose bleed if:
Images reach the edge of the page.
Background colors cover the full page.
Decorative borders extend to the edge.
You have full-page illustrations or photographs.
If your interior uses bleed, you must also select Bleed during your KDP book setup. Choosing "No Bleed" while uploading a bleed PDF (or vice versa) can result in validation errors or unexpected trimming during printing.
With PublishPro: The software detects your layout and exports the correct print-ready PDF with the appropriate bleed settings, helping ensure your files match the options you select during KDP setup.
Step 4: Make typography consistent
Stick with one or two readable fonts, keep your spacing consistent, and avoid changing styles from chapter to chapter. A clean layout quietly tells readers they're holding a professional book.
Good choices include:
Garamond
Baskerville
Georgia
Minion Pro
Palatino
Times New Roman
Recommended body size:
10–12 pt
Line spacing:
Around 1.15–1.5 depending on font
Avoid:
Decorative fonts
More than two font families
Random font changes
Tiny body text
Most importantly:
Make sure every font is embedded in the exported PDF. Missing fonts are one of the most common technical reasons KDP rejects files.
PublishPro applies consistent typography across the entire manuscript, so every page feels polished without hours of manual tweaking.
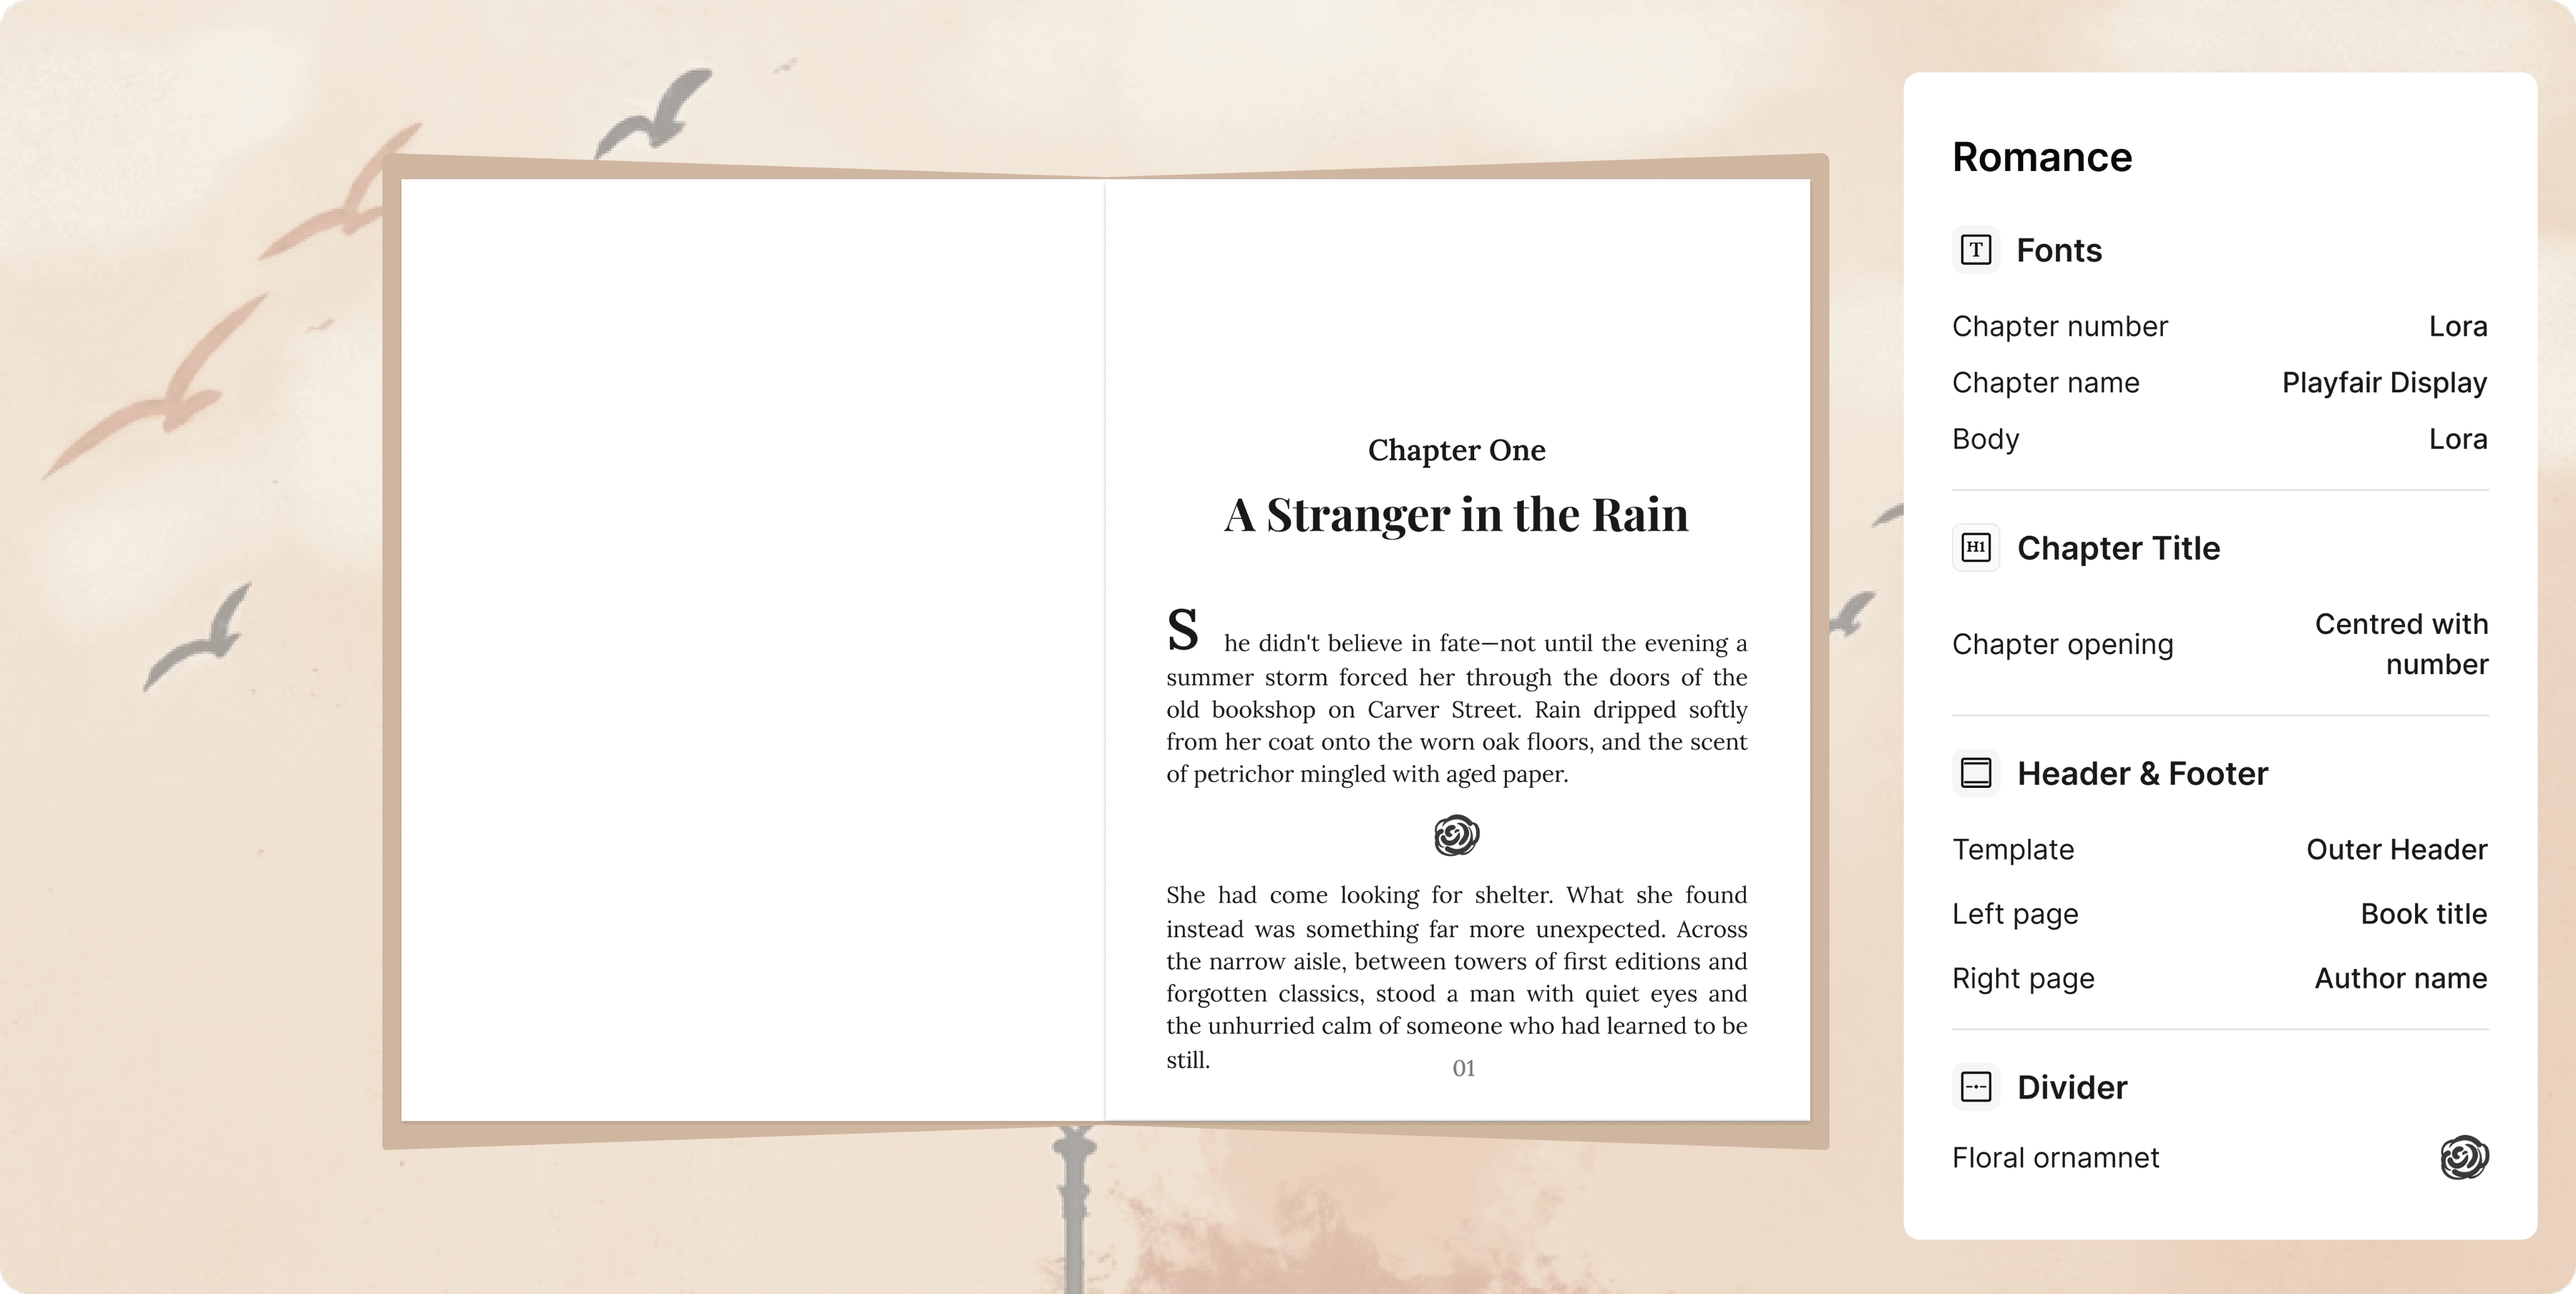
Step 5: Build proper book structure
A professional paperback isn't just chapters stacked together, it should include
Half title (optional)
Title page
Copyright page
Dedication (optional)
Table of contents (if needed)
Chapters
About the author
Acknowledgements (optional)
Missing or inconsistent front matter makes even a great manuscript feel unfinished.
Instead of setting everything up manually, PublishPro builds a clean, publication ready structure automatically.
Step 6: Watch the small things
Formatting mistakes love repetition.
One awkward paragraph might not seem like a big deal, but repeat it across 300 pages, and suddenly every chapter feels slightly off.
Watch for:
Widow/orphan lines
Uneven spacing
Broken paragraphs
Strange page breaks
These tiny details separate an amateur looking book from one that feels professionally published.
PublishPro scans for these issues and handles them automatically before you export.
Step 7: Get your spine width right
Your book's spine isn't something you can guess, it has to be calculated.
Unlike the front and back cover, the spine width depends entirely on your final page count and the paper type you choose on Amazon KDP. A 150 page book has a much thinner spine than a 300 page book, and switching from cream paper to white paper changes the measurement slightly as well.
If your spine is too narrow or too wide:
The cover text may wrap onto the front or back cover.
Your title may appear off center.
KDP may flag your cover for incorrect dimensions.
The printed book can look unprofessional even if it's approved.
For a 300 page paperback, you should always calculate the spine using your final page count after formatting, not your manuscript's Word page count, which often changes during layout.
With PublishPro: Once your manuscript is formatted, the exact page count is known. PublishPro automatically calculates the correct spine width, so your cover template matches your finished book perfectly.
Step 8: Build your cover using KDP's specifications
Your book cover is more than just a front image, it's one complete file containing the front cover, back cover, and spine. Amazon KDP expects your cover to match the exact specifications of your interior book, including:
Trim size
Final page count
Paper type (white or cream)
Bleed settings
Spine width
Your cover should also include:
A safe area that keeps text away from the edges.
A barcode area on the back cover (leave this clear if KDP is adding the barcode).
High-resolution images (300 DPI).
Embedded fonts or outlined text.
The correct PDF format for printing.
One of the most common mistakes authors make is designing a beautiful cover before their interior is finalized. Even a small change in page count can alter the spine width, meaning the entire cover has to be adjusted.
With PublishPro: Your interior and cover settings stay synchronized, reducing the risk of mismatched dimensions or repeated redesigns.
Step 9: Export like a publisher
Your manuscript isn't ready just because it looks good in Word.
KDP expects a print ready file with embedded fonts, the correct trim size, and accurate margins. One incorrect export setting can undo hours of formatting work.
With PublishPro, your files are generated to meet KDP's print requirements from the start, so you're not left guessing which settings to choose.
Step 10: Preview before you publish
Never skip the preview.
Check your margins. Flip through chapters. Look at page numbers. Make sure nothing disappears into the spine.
Five minutes of reviewing can save days of fixing rejected files.
Or let PublishPro do the checking for you. Before you download your files, it validates your layout, confirms your margins, and fixes common print issues before KDP ever sees them.
Why more authors are automating their formatting
Formatting a 300-page paperback by hand can easily take somewhere between 8–15 hours to months, and that's before fixing any upload errors.
With PublishPro, the same job can be completed in under an hour.
No gutter calculations.
No margin guesswork.
No export settings to memorize.
Just upload your manuscript and let PublishPro handle the complicated formatting details while you focus on writing your next book.
Final thoughts
A 300-page book deserves more than a last minute formatting session.
The right trim size, consistent typography, balanced margins, and proper gutter spacing don't just help your book pass KDP, they create a better reading experience for every person who opens it.
You can learn every rule yourself. Or you can let PublishPro handle them, giving you a professional, print ready book without the frustration.
"Publishing your book should feel like crossing the finish line, not starting another marathon."
